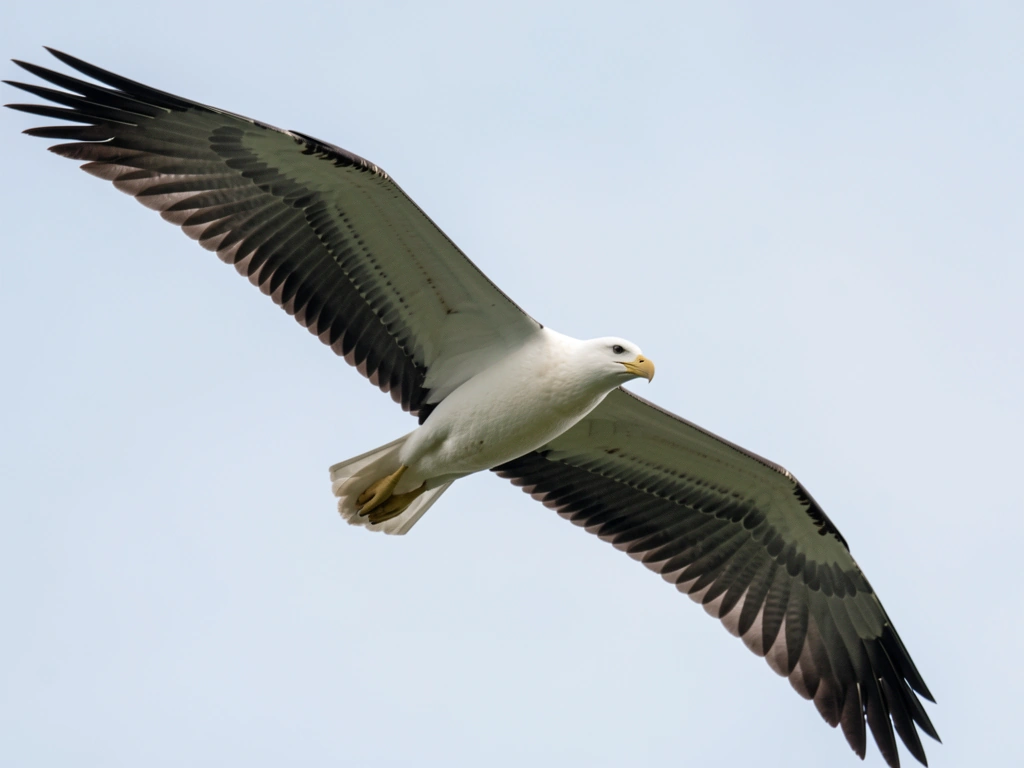
The 'bird walk' as a fitness or walking drill is not a widely standardized exercise with a single locked-in definition the way a squat or deadlift is. What most coaches and movement teachers mean when they say 'bird walk' is a slow, deliberate, exaggerated walking drill that mimics the careful, heel-to-toe, body-aware gait of a bird picking its way across the ground. Think of a heron stepping through shallow water: controlled, purposeful, balanced on one leg before the next foot ever touches down. That image is actually a perfect coaching cue. The goal is not to cover ground fast. The goal is to train conscious, controlled movement, build single-leg stability, reinforce proper foot placement, and groove better walking mechanics into your body from the ground up. If you are also curious about how does a bird fly in air, compare the balance and coordination ideas from this ground-based drill to how birds control their body in flight.
How Does a Bird Walk: Step-by-Step How-To and Form Tips

What the Bird Walk Is and What It Actually Trains
At its core, the bird walk drill is a slow-motion, exaggerated gait exercise. You move forward one deliberate step at a time, pausing briefly in a single-leg stance before placing your next foot. Each step is performed with full awareness of foot strike, knee alignment, hip position, and torso posture. It is used in athletic warm-ups, physical therapy, gait retraining, and movement quality work. It is not a cardio exercise and it is not about building raw strength, though your hips, glutes, and calves will feel it if you do it correctly.
Here is what the bird walk specifically targets. First, single-leg balance and proprioception, meaning your body's ability to sense where it is in space. Second, hip stability, especially the glute medius, which is the muscle responsible for keeping your pelvis level when you are standing on one foot. Physiopedia also highlights gluteus medius as crucial for stabilizing the pelvis in the frontal plane during single-leg weight-bearing, including holding pelvis level during single-leg stance for about 30 seconds blank" rel="noopener noreferrer">glute medius, which is the muscle responsible for keeping your pelvis level when you are standing on one foot. Third, foot and ankle awareness, including how the foot contacts the ground and how your arch responds. Fourth, posture and spinal alignment during movement. If you have ever noticed that your walking gait feels sloppy, that one hip drops when you step, or that your feet turn out awkwardly, the bird walk is one of the best drills to self-diagnose and correct those patterns. It also pairs naturally with understanding bird movement mechanics, which is covered more deeply in related work on bird movement mechanics. Learning how does a bird fly involves studying how these bird movement mechanics work together. If you want to understand how does a bird move, focus on the same core ideas of balance, coordination, and precise foot placement. This same idea is part of how animals like birds can move through the air with efficient control and coordination understanding bird movement mechanics.
Set Up Your Posture Before You Take a Single Step
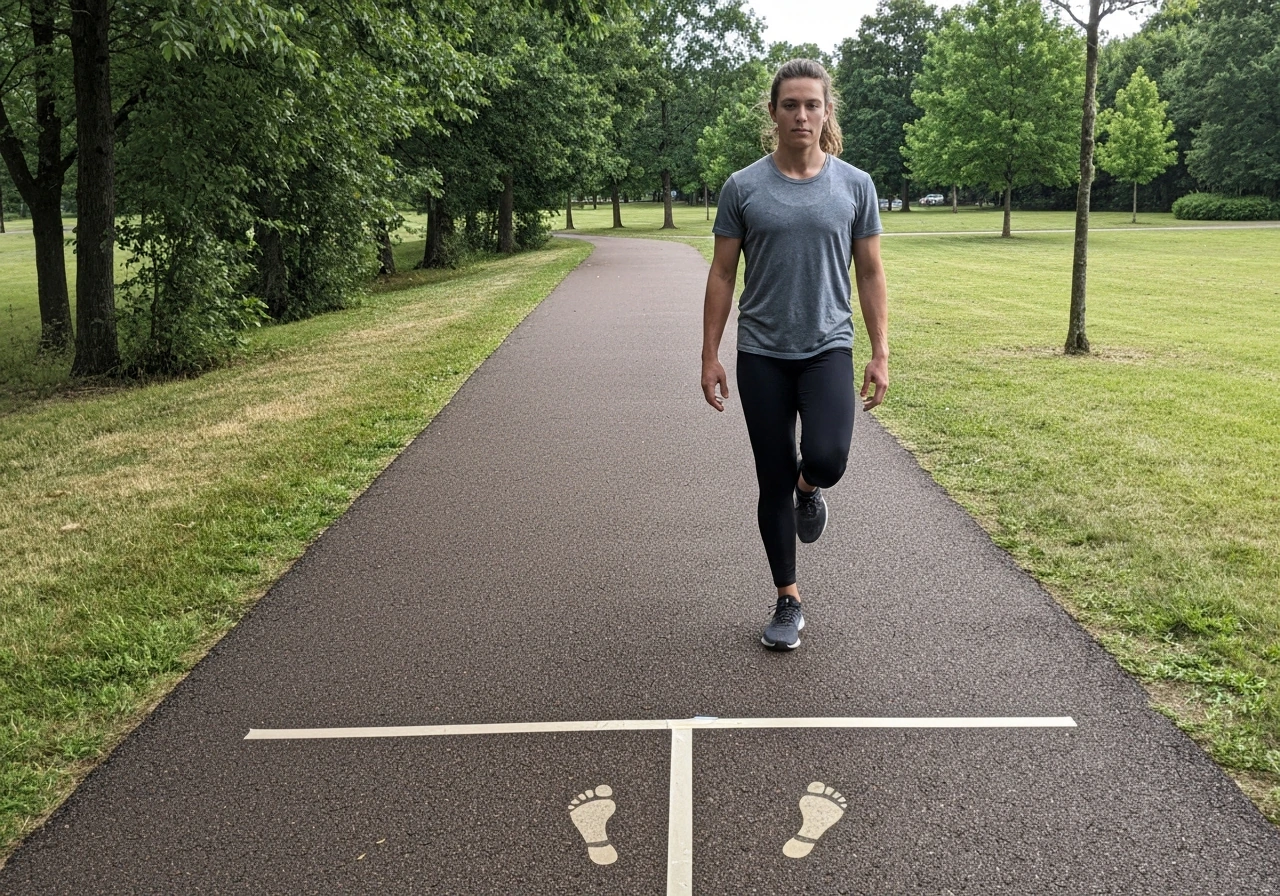
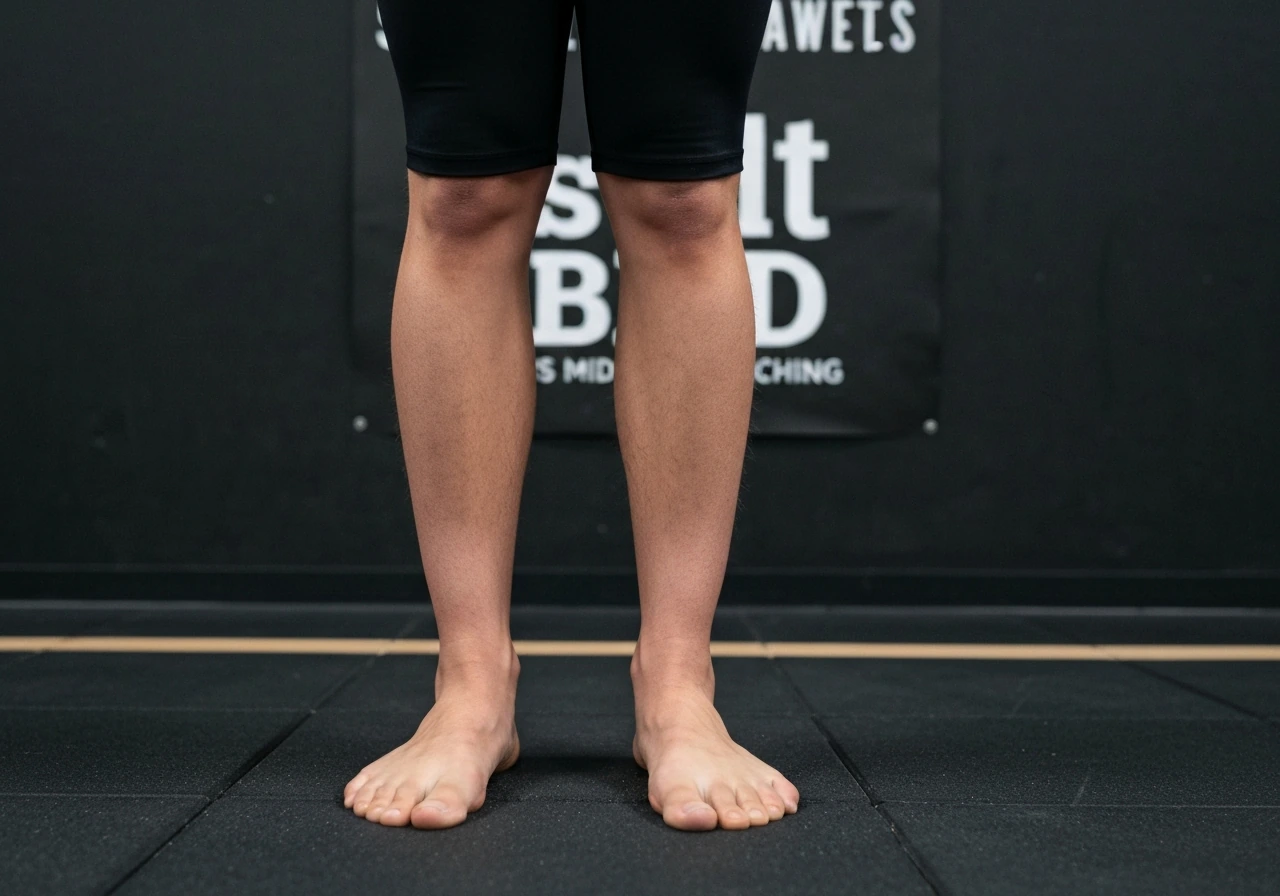
Do not skip this part. The setup is half the drill. Stand tall with your feet hip-width apart. Stack your ears over your shoulders, your shoulders over your hips, and your hips over your ankles. This is not military-rigid posture. It is relaxed alignment. Think of a string gently pulling the crown of your head toward the ceiling. Let your arms hang naturally at your sides. Soften your knees so they are not locked out. Take a breath in, and on the exhale, lightly brace your core, not a hard crunch, just enough tension to feel stable through your midsection.
Foot position matters before you start moving. Stand with your feet parallel, toes pointing straight ahead or only very slightly outward. If your feet naturally splay out at a wide angle, gently bring them closer to parallel. You do not need to force anything, but wide foot turnout during the drill will mask the hip and glute weaknesses the exercise is designed to expose and fix. Look straight ahead. Pick a point on the wall or horizon and keep your gaze there throughout the drill. This keeps your head neutral and prevents you from looking down at your feet, which collapses the upper body and throws off your balance.
Step-by-Step: How to Do the Bird Walk
Work through this sequence one step at a time. For example, the CDC physical activity guidelines describe that effective exercise programs often include warm-up and cool-down components within a session Physical Activity Guidelines 2nd edition. It will feel slow and almost awkward at first. That is the point. You are reprogramming movement, not performing it.
- Start in your tall, aligned standing position. Feet hip-width apart, core lightly braced, gaze forward.
- Shift your weight slowly onto your right foot. Feel the entire sole of your right foot press into the floor: heel, the outer edge, the ball, and all five toes. Your right leg is now your stance leg.
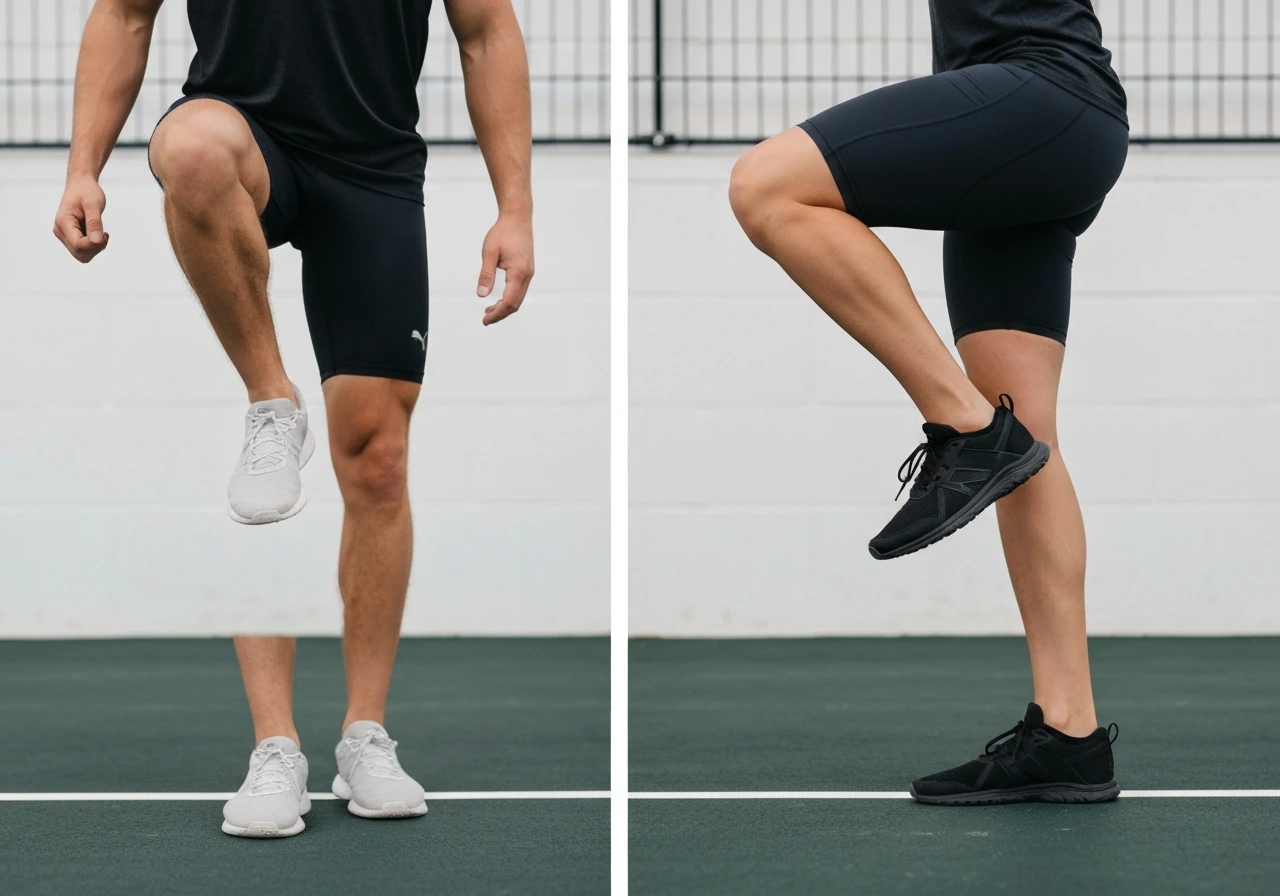
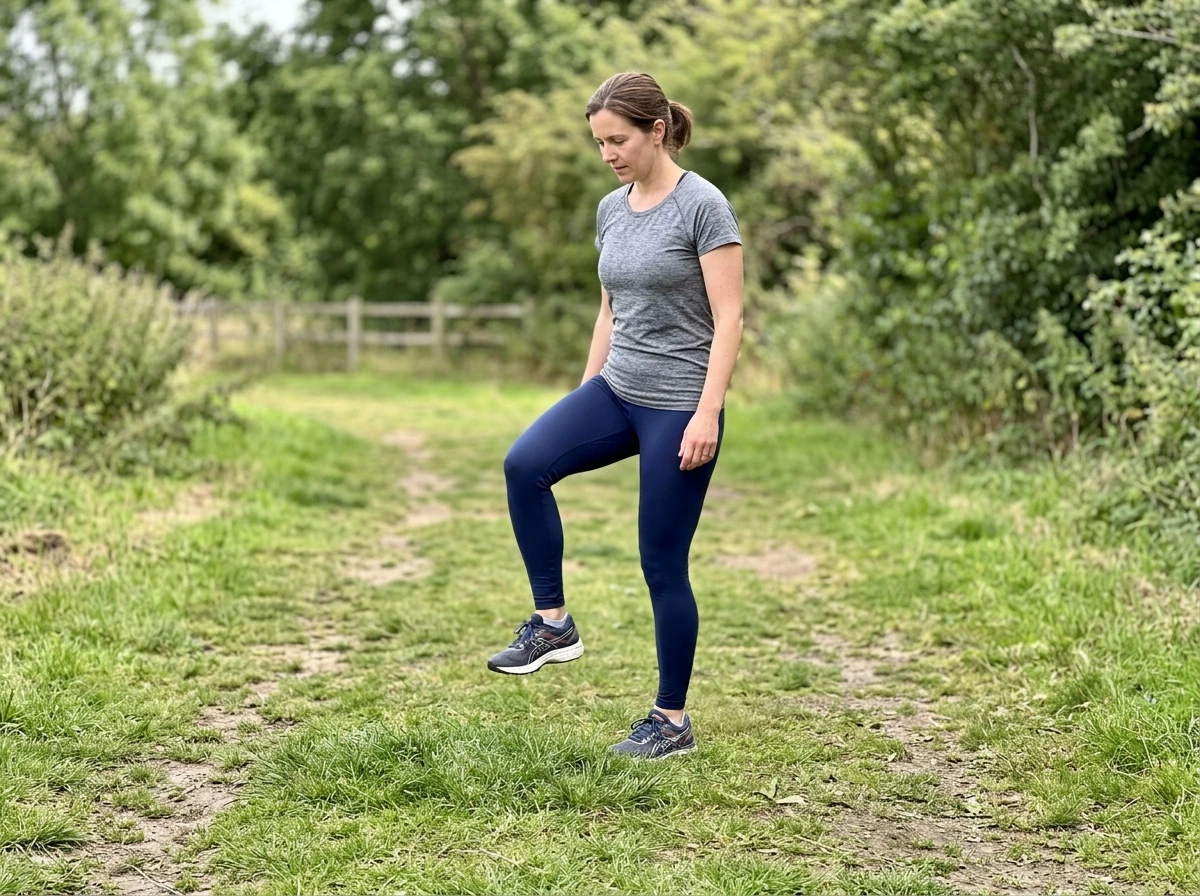
- Lift your left knee up to approximately hip height, or as high as you can comfortably manage while keeping your pelvis level and your torso upright. Do not let your right hip hike up or your torso lean to compensate. Hold this for one to two seconds.
- From that lifted position, extend your left leg forward and place your heel down first, about one natural stride length ahead. Do not overstep. A stride that is too long forces you to heel-crash and lose control of your torso.
- Roll your weight forward through the left foot from heel to ball to toes as you shift your body weight onto the left leg. Your right heel will naturally lift as you transfer weight forward.
- Now pause in that moment of transfer. Feel your left foot flat on the ground and your right heel lifting. This is where you check your alignment: pelvis level, knee tracking over the second toe, torso upright.
- Lift your right knee up to hip height. You are now on your left stance leg. Hold for one to two seconds.
- Repeat the sequence: extend, heel strike, roll through, pause, lift the opposite knee. Continue for your target distance or rep count.
Your arms should move in opposition to your legs the way they do in normal walking: left arm forward when the right knee lifts, right arm forward when the left knee lifts. Keep your elbows soft, not bent at a running angle, just gently swinging. This arm swing is not decorative. It helps rotate the thoracic spine and keeps your movement pattern integrated rather than stiff and robotic.
Common Mistakes and How to Fix Them Fast
Most people make the same handful of errors when they first try this drill. Knowing what to watch for saves you from grooving in bad habits.
| Mistake | What It Looks Like | The Fix |
|---|---|---|
| Hip hiking | The stance-side hip rises when you lift the opposite knee | Think 'pelvis stays flat like a table.' Engage your stance-side glute medius consciously. |
| Torso lean | You lean sideways or forward as you balance on one leg | Pick a focal point ahead and keep your eyes level. Slow down further. |
| Looking at your feet | Head drops, upper back rounds | Tape an X on the wall at eye level to use as a focus target during the drill. |
| Overstriding | You reach too far forward with each step, making your heel crash hard | Shorten your step until it feels almost too small, then gradually lengthen. |
| Skipping the pause | You rush through the single-leg stance phase | Count 'one, two' out loud each time you lift your knee. The pause is the drill. |
| Toes pointed outward | Feet angle out like a duck, hiding hip weakness | Place two parallel pieces of tape on the floor to guide your foot placement. |
| Locked arms | Arms held rigid at your sides | Shake your hands loose before starting, then let the arms swing naturally with each step. |
Safety Tips and Who Should Modify or Skip This
The bird walk is low-impact and beginner-friendly, but it does require standing on one leg, which makes balance the primary safety consideration. If you are recovering from an ankle sprain, knee surgery, or any lower-body injury, check with a physical therapist before adding this drill. The single-leg loading is gentle but real, and if your joints are not yet ready for that stress, even a slow-motion walking drill can irritate healing tissue.
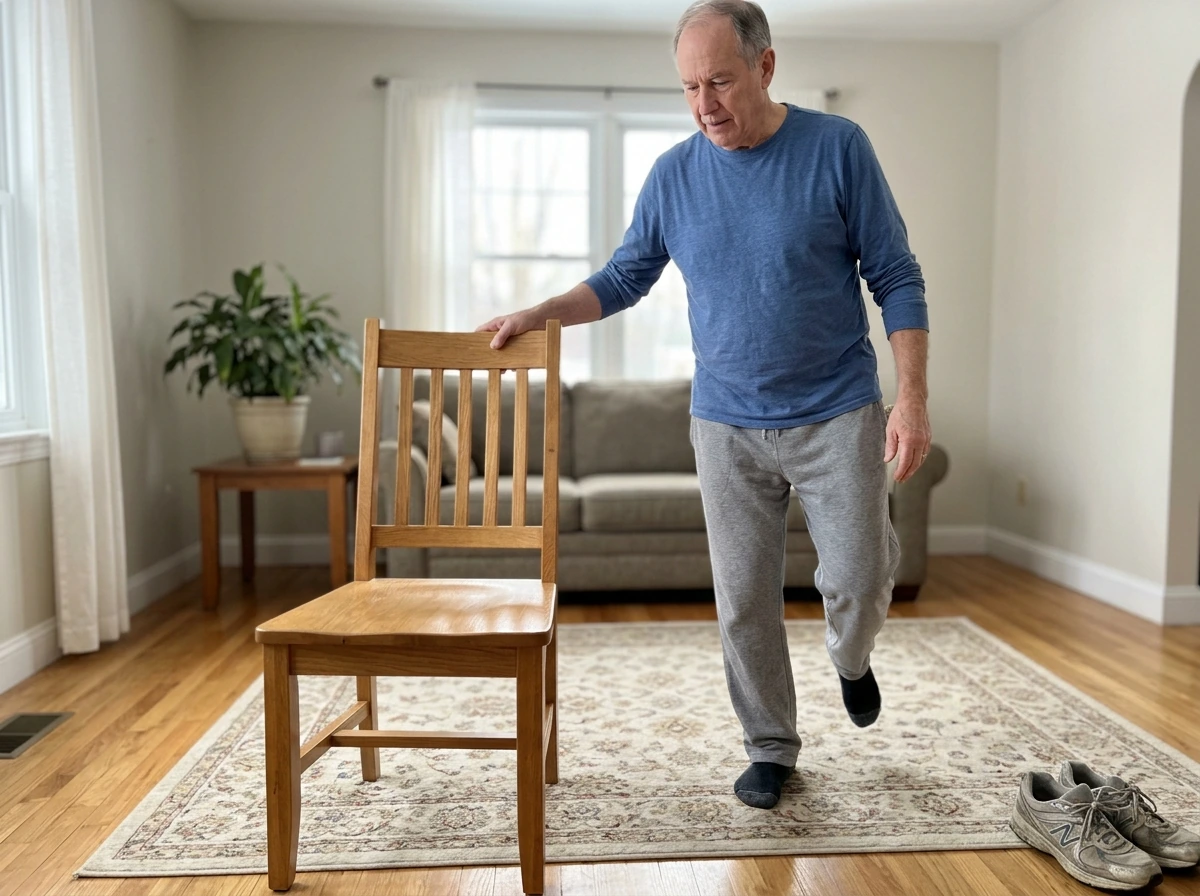
If you struggle with balance and feel like you might tip over during the single-leg pause, do not push through it unsafely. Instead, perform the drill next to a wall or countertop and lightly touch it with your fingertips for support. This lets you practice the mechanics without the fall risk. As your balance improves over days or weeks, gradually reduce how much you rely on the wall until you can do it freestanding.
People with peripheral neuropathy, inner ear conditions affecting balance, or significant hip or knee osteoarthritis should treat this as a modified, supported drill from the start. If pain (not just muscle fatigue) occurs during the drill, stop, rest, and consult a professional. Discomfort from working unfamiliar muscles is expected. Sharp, joint-level pain is a signal to stop.
- Perform near a wall if your balance is currently unreliable
- Wear flat, supportive footwear rather than thick-soled running shoes that can reduce ground-feel
- Clear the floor of rugs, cords, or anything you could catch a foot on
- If you have recently had a lower-body injury, get clearance from a physio first
- Stop if you feel sharp joint pain, not just muscle effort
How to Practice: Sets, Reps, and How to Get Better Over Time
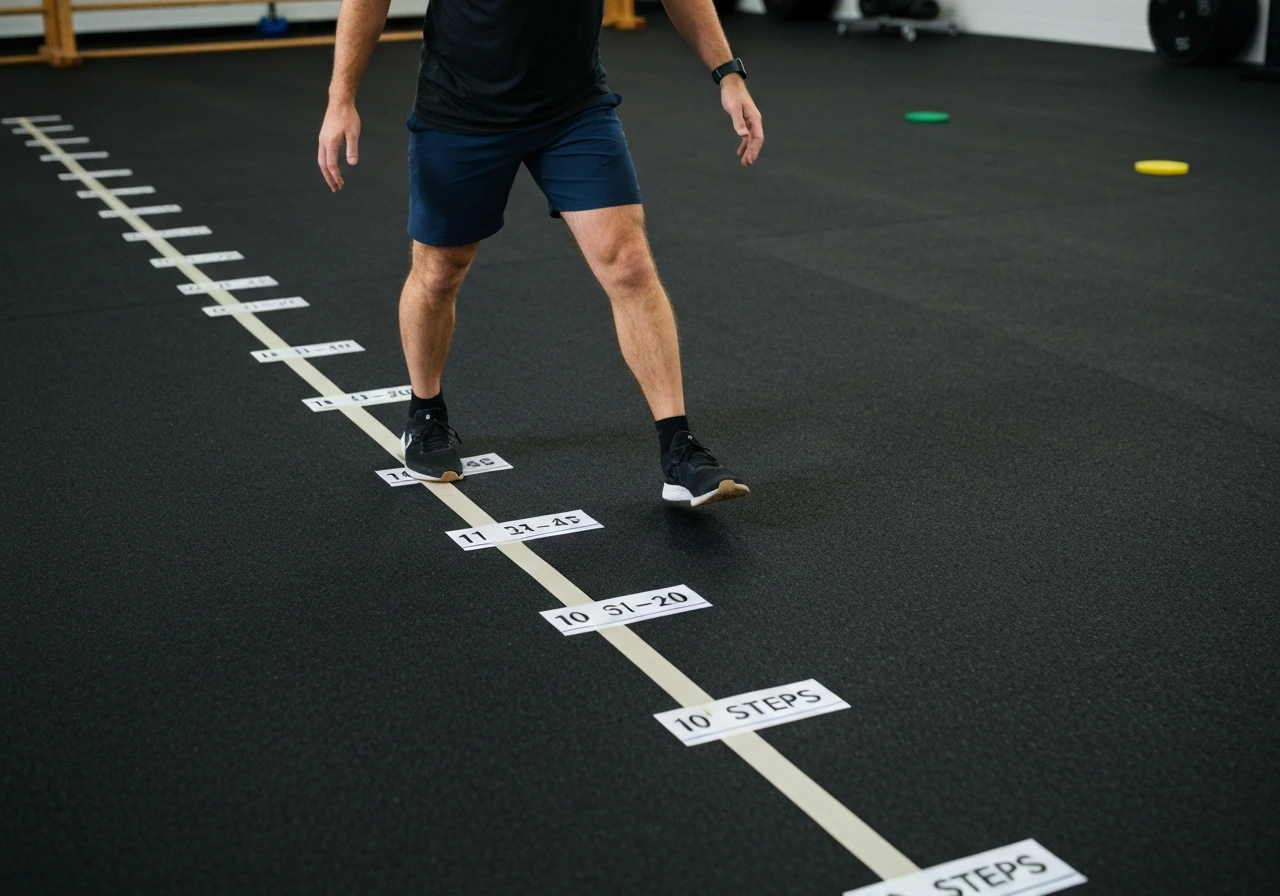
The bird walk is measured in steps or distance rather than traditional reps, because it is a locomotion drill. For most people, starting with 10 to 20 steps per set, two to three sets, is plenty. That is roughly 10 to 20 meters of very deliberate, slow walking. Rest for 30 to 60 seconds between sets. Do this two to four times per week, either as a warm-up before a workout or as a standalone movement practice session.
The progression model is simple. In your first week, focus entirely on the pause. Can you hold the single-leg stance for two full seconds without your hip hiking or your torso swaying? If not, that is your only job. Once the pause feels stable and controlled, extend your hold to three seconds. Once that feels solid, begin increasing the distance per session, aiming for 20 to 30 meters per set. After two to three weeks of consistent practice, you can add a subtle challenge by performing the drill on a slightly uneven surface like grass or a thin balance pad.
A reasonable 4-week framework looks like this:
| Week | Sets | Steps Per Set | Pause Duration | Surface |
|---|---|---|---|---|
| Week 1 | 2 | 10 | 1-2 seconds | Flat floor, near wall if needed |
| Week 2 | 3 | 15 | 2-3 seconds | Flat floor, freestanding |
| Week 3 | 3 | 20 | 2-3 seconds | Flat floor or firm outdoor path |
| Week 4 | 3 | 25-30 | 3 seconds | Grass or balance pad for added challenge |
You will know the drill is working when your regular walking gait starts to feel more deliberate and controlled without you consciously thinking about it. Your hip drops should reduce, your foot placement should feel more intentional, and single-leg activities like climbing stairs should feel more stable. That carryover into everyday movement is exactly the point. The bird walk is not an end in itself. It is a tool for building the body awareness that makes everything else you do on two legs work better.
FAQ
How do I know if I should do the bird walk for steps or distance?
Yes, but do it with intent. Use a short walk length (for example, 10 to 20 steps) and stop each set while your form is still consistent, especially during the single-leg pause. If your posture, foot strike, or hip level starts to degrade, you have reached your effective intensity, and pushing farther turns it into a sloppy balance challenge.
What should I do if my hip hikes or drops when I pause on one leg?
If the hip “hikes” up or the torso tilts to compensate during the pause, that is your cue to regress. Keep the pause shorter (such as 1 to 2 seconds), reduce the distance per set, and use fingertip support near a wall. The goal is a quiet pelvis, not a long hold at any cost.
Should I do bird walks barefoot or in shoes?
For most people, shoes are not ideal because they reduce sensory input from the foot and ankle. Try doing it in bare feet or in thin, stable minimalist footwear, then reassess your balance. If you have foot conditions or you cannot safely do it barefoot, choose low-profile shoes with good traction and avoid bulky cushioned soles.
How should my knees and toes line up, and what if my feet turn out?
Great question. The drill is about control, so you should avoid forcing a toe-out position to feel “natural.” Keep feet parallel to slightly outward, then check that your knee tracks over the middle of your foot during the pause. If your knee collapses inward, that is often a glute medius stability issue, so shorten the step and slow the transition between stances.
Can I add arm variations or head turns to make bird walks harder?
Yes, but switch only one variable at a time. If you want to add head movement, keep your gaze fixed first (as the article suggests), then later practice turning your head slightly while maintaining neutral torso and pelvic stability. If your balance worsens immediately, revert to the fixed-gaze version.
I lose balance quickly. Should I stop entirely or modify the drill?
If you cannot hold the single-leg pause for two seconds without swaying, reduce the range before you reduce the balance demand. For example, take smaller steps, shorten the time between foot contact and the pause, and use fingertip support. This keeps you training mechanics instead of practicing uncontrolled tipping.
What modifications are safest if I have neuropathy or inner ear balance issues?
Peripheral neuropathy and inner ear issues can make the floor unpredictable to your nervous system, so start with support and a shorter total volume. Use the wall or countertop from the beginning, aim for fewer steps per set, and monitor for pain or dizziness. If symptoms flare, pause the drill and get professional guidance.
What types of discomfort mean I should stop, and what are normal sensations?
Use “no pain, just effort” as the boundary. Muscle burn is expected, but sharp joint pain, catching, or worsening limping means stop. Also avoid turning it into a compensation drill by tightening only one area, like leaning on the wall or swinging the arms excessively.
Where should bird walks fit in my workout, warm-up versus later?
It can help warm up, but it is not a cardio finisher. If you do it before a workout, keep total volume modest and treat it as activation, then move on. If your goal is mobility or gait retraining, placing it later in the session can be fine, but fatigue may reduce single-leg control, so shorten sets.
How can I measure progress beyond “it feels better”?
Yes, track a few simple markers. For example, record how long you can pause without pelvic sway, whether your hip level stays consistent over several steps, and whether your regular walk feels more intentional the next day. If those markers do not improve over two to three weeks, reduce distance per session or slow down further instead of increasing volume.
Explore how birds generate lift and thrust, control pitch and balance, and why their flight differs from planes.
Learn how birds land step by step, from approach and wing flare to safe touchdown and ways to observe or help.
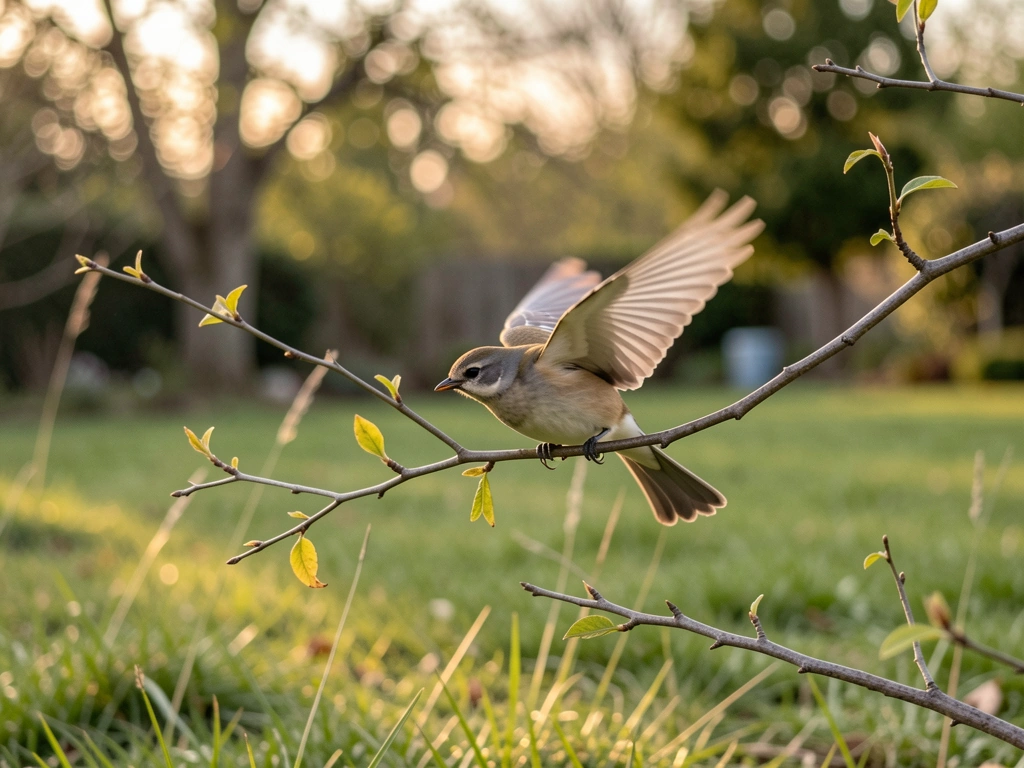
Learn how birds move on land, perch, fly using lift, and swim or dive, with simple observations to try.