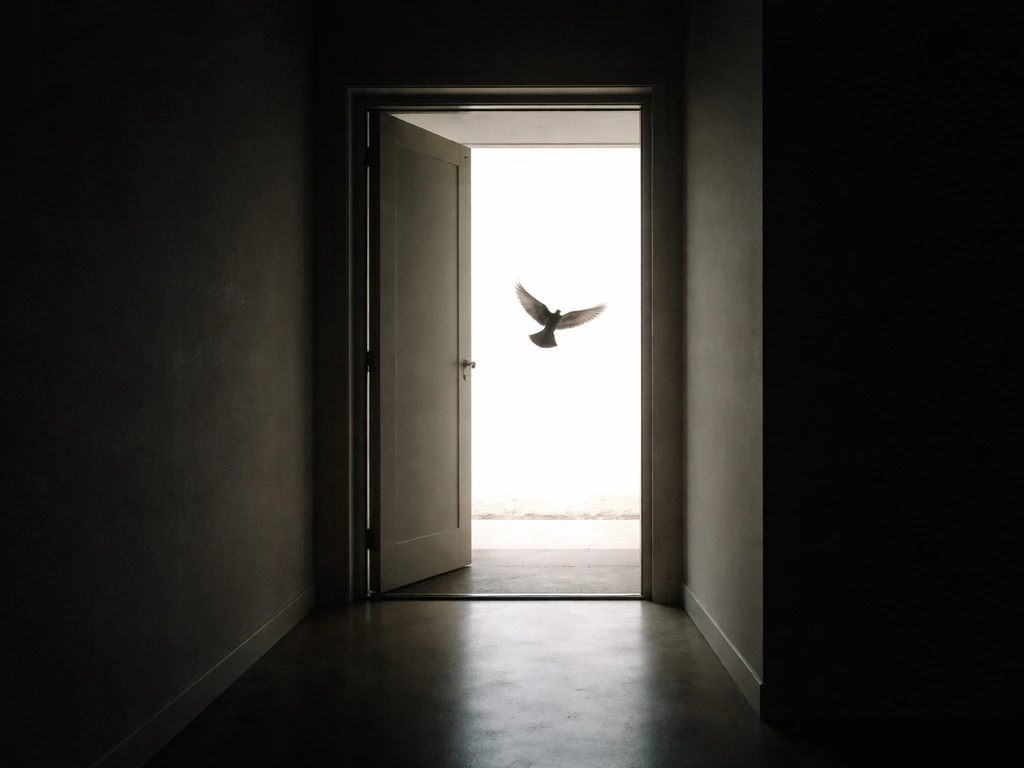
A bird flying top view looks nothing like the side-profile silhouette most people picture when they think of a bird in flight. From above, you lose the classic wing-arc shape and instead see a flat, symmetrical spread of feathers, a narrow body spine, and a tail fanning out behind. Getting that view right, whether you're drawing it, building an animation, or hunting down a usable PNG, means understanding what real bird flight actually looks like from overhead, not just guessing at a mirror-image pair of wings.
Bird Flying Top View: How to Draw, Model, and Get PNGs
Marcus Chen
11 Apr 2026
What the top view actually shows (and why it surprises people)
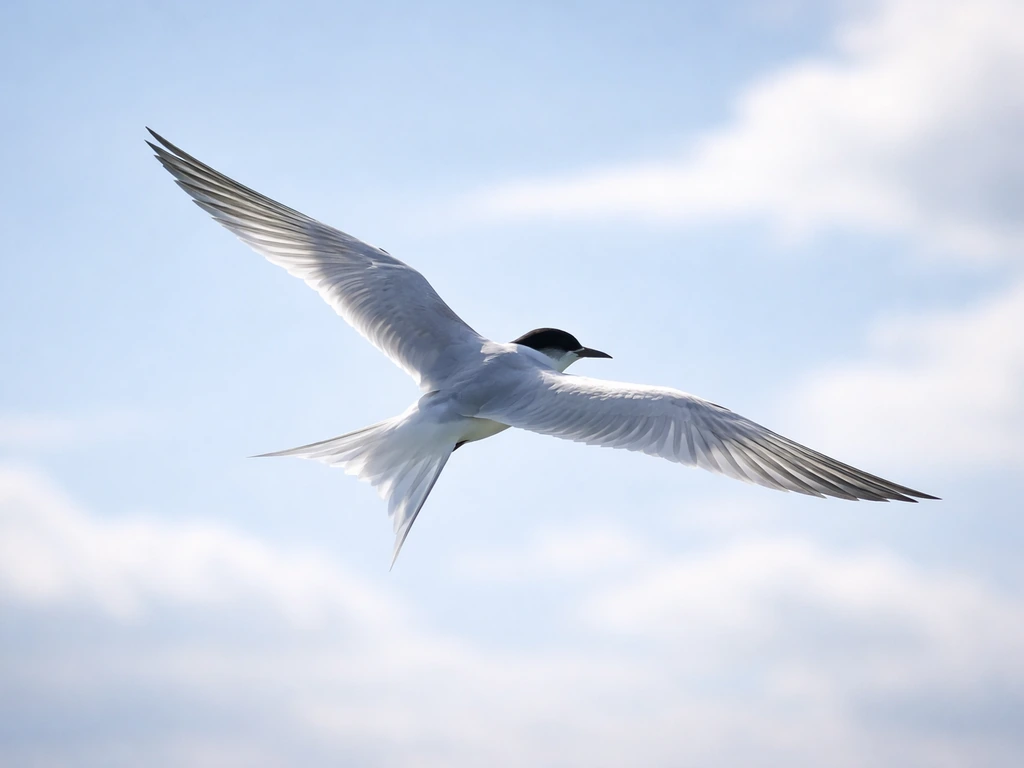
The side view of a bird in flight is iconic: you see the deep arc of the downstroke, the body angle, the tail lift. The top view strips all of that away. Instead, you're looking straight down the dorsal surface of the bird, which means you see the upper side of the wings, the back, and the top of the tail. The body appears as a narrow oval or teardrop pointing in the direction of travel. The wings extend left and right, roughly perpendicular to the body axis, and the tail fans out behind.
What surprises most people is how asymmetric the view can become the moment a bird is doing anything other than perfectly level, straight flight. When a bird rolls into a turn, the inside wing drops and the outside wing rises. From directly above, that shows up as one wing appearing shorter (foreshortened) and the other appearing longer and more spread. Researchers studying the top view of a bird flying use overhead cameras specifically because this vantage point makes trajectory and wing-timing patterns much easier to isolate than a side or front view. If your drawing or PNG shows perfectly flat, identical wings on a turning bird, it's already wrong.
Yaw turns add another layer of complexity. When a bird pivots left or right without rolling much, the body itself rotates relative to the direction of travel. The nose (bill) points slightly off-axis, and the tail swings the opposite direction. Studies on Anna's hummingbirds have tracked these yaw-specific wingbeat kinematics in detail, showing that even small differences in wing motion timing between left and right wings generate the torque needed to spin the bird. From above, that brief misalignment of the body axis relative to the flight path is a key realism cue that most drawings miss entirely.
Anatomy and wing-motion cues for an accurate overhead silhouette
To draw or model a convincing top view, you need to know what's actually moving up there. A bird's wing has three main segments: the upper arm (humerus), the forearm (radius and ulna), and the hand (carpometacarpus and primary feathers). Wikipedia’s flight feather overview explains that primaries are connected to the bird’s hand and secondaries form the other main group of flight feathers blank" rel="noopener noreferrer">primaries are connected to the bird’s “hand” (manus/carpometacarpus and phalanges). Bird wing anatomy includes the humerus, the radius and ulna, and the hand region (including the carpometacarpus and reduced digits), which matches the wing-segment structure used for overhead silhouettes three main segments: the upper arm (humerus), the forearm (radius and ulna), and the hand (carpometacarpus and primary feathers). These fold and extend at the shoulder, elbow, and wrist joints. From above during a full downstroke, all three segments are extended outward, giving you the maximum wingspan silhouette. During the upstroke, the elbow and wrist bend, folding the wing back toward the body, so the silhouette narrows dramatically.
The downstroke is where the wing does its aerodynamic work, generating both lift and thrust. The upstroke is largely a repositioning phase: the bird rapidly folds its wings inward and then "zips" them back up to the elevated starting position for the next downstroke. From above, this means the overhead silhouette at mid-downstroke shows wide, fully extended wings, while mid-upstroke shows a much narrower, tucked shape with visible elbow kinks. High-speed video research has spread a single wingbeat across as many as 40 frames, making these phase transitions extremely clear.
One anatomical detail that matters a lot for the top view is the wrist-to-wingtip angle. During the downstroke, the primary feathers (the long flight feathers at the hand) splay slightly and fan forward. From above, this gives the leading edge of the wing a slight forward sweep at the tip. During the upstroke, those same primaries rotate and close. You can also see the scapular feathers (the ones that cover the shoulder area on the back) fanning slightly when the wing is fully raised. These small details separate a convincing silhouette from a generic blob.
For turns and maneuvers, the key cue from above is differential wing behavior. In a banked turn, the outside wing moves faster during the downstroke and stays more extended, while the inside wing is slightly more folded or slower. This differential is what generates the roll torque that tips the bird into the turn. Think of it as the outside wing doing more work. If you're drawing a banking pigeon or a soaring hawk mid-turn, the two wings should not look identical.
Step-by-step: drawing a bird flying top view
Start with the basic shape (beginner-friendly)
- Draw a narrow teardrop or elongated oval for the body, pointed at the front (bill end) and slightly wider at the tail end. Keep it centered on your page.
- Add a short, fan-shaped triangle at the back for the tail. In level flight, this should be centered on the body axis. In a turn, offset it slightly to one side.
- Extend two lines outward from the widest point of the body oval, one to each side. These are your wing root lines. They should angle very slightly backward, not straight out to the sides at 90 degrees.
- Block in the three wing segments on each side: a short upper-arm section close to the body, a longer forearm section angling slightly forward, and the hand/primary section sweeping forward and outward to the wingtip. The overall wing shape from above is like a long, slightly backward-swept crescent.
- Connect the wingtip to the body with a gentle curve for the trailing edge. The trailing edge is where secondary feathers sit, and it should have a slight scalloped quality if you're adding detail.
- Add a small oval or rounded point at the front for the head and a thin line for the bill. From above, the head is barely visible, mostly hidden by the body and forward feathers.
Adding realism (intermediate)
Once you have the basic structure, the key upgrade is wingbeat phase. Decide where in the wingbeat cycle your bird is. Full downstroke means fully extended wings, maximum span, primaries slightly forward-swept. Mid-upstroke means folded, narrowed wings with a clear elbow bend visible from above. A useful reference is to look at the bird flying animation tutorial approach: animators break the wingbeat into key poses, and those same poses work as static drawing reference. The most visually interesting top-view pose is usually the transition from upstroke to downstroke, when the wings are fully raised and about to sweep forward and down, giving you maximum wing extension above the body.
For feather detail, sketch in the primary feathers as individual fingers at the wingtip. Most birds have 9 to 11 primaries. From above, they fan outward from the wrist and slightly separate at the tips during the downstroke. The secondary feathers run along the trailing edge of the inner wing (the forearm section) and appear as a row of overlapping curved shapes. On the back itself, add a subtle centerline ridge and the scapular feather patches on either side of the spine.
Body angle matters too. In normal cruising flight, the body is tilted slightly nose-down from above (you'd see slightly more of the back than the tail). In a climb, the body tilts nose-up. In a steep dive, the wings partly fold and the body appears narrower. If you're drawing a gliding bird, the wings are locked straight out with no visible elbow bend, and the primaries are fully spread.
Making the drawing look like real flight
A static drawing of a bird from above can easily look like a taxidermy mount pinned to a board if you don't add motion cues. The biggest one is wingbeat asymmetry. Even in straight flight, the two wings are almost never in an identical phase at the exact same instant due to the slight rolling oscillations that come with each wingbeat. Showing one wing very slightly ahead of the other in its sweep angle, or one slightly more extended, immediately reads as a living, flapping bird rather than a mounted specimen.
Body yaw is another powerful cue. Real birds in straight flight often show a tiny side-to-side oscillation of the tail as they correct their heading with each wingbeat. Drawing the tail fractionally off-center, or the bill pointing just slightly to one side of the body axis, adds a sense of active flight. This is especially true for smaller birds like sparrows or swallows, which show more pronounced yaw oscillation than large soaring birds like eagles.
Motion blur on the wingtips is the classic art technique here, but from a biomechanics standpoint, what you're representing is real: the wingtip travels the longest arc during a flapping cycle, so it's moving fastest and would show the most blur in a photograph. Softening or streaking the outer third of the wing in a drawing, or using a slight transparency fade at the tip, captures this accurately. For context on how researchers study these motion patterns, the concept of bird fly kinematics analysis relies on exactly this kind of frame-by-frame tip tracking to measure wingbeat phase.
One more detail: the tail. In active flapping flight, the tail is often partially spread and slightly depressed (angled downward at its tip), which from above means you see the full fan width. In a glide or soar, it may be more narrowly folded. During a tight turn, one side of the tail often fans more than the other, helping steer. Getting the tail geometry right for your chosen flight mode makes a surprisingly large difference in how convincing the top view reads.
Getting or creating bird flying top view PNGs
If you need a bird flying top view as a PNG file, whether for a game, presentation, map overlay, or digital art project, you have three realistic paths: find a licensed one, photograph or render one yourself, or create and export your own from vector software.
Finding licensed images
For free, safely licensed images, the two most reliable no-attribution-required sources are Pexels and Pixabay. Both allow free commercial and personal use without requiring attribution, though you should read their specific terms for redistribution. For a broader search across Creative Commons and public domain material from multiple sources, Openverse is worth checking. Just be aware that Creative Commons licenses vary: some allow commercial use, some require attribution, some restrict derivatives, and it's your responsibility as the user to check the specific license on each file. Wikimedia Commons is another strong source, but always check the license indicated on the file's individual description page before using it.
When evaluating any bird top-view PNG you find, check whether the wing position actually reflects a real flight phase. Many stock silhouettes show wings that are anatomically impossible, with perfect symmetry in both wings mid-flap, or a wingspan-to-body ratio that doesn't match any real species. For most practical uses this is fine, but if accuracy matters (scientific illustration, educational material, game assets that need to look real), it's worth rejecting anatomically wrong silhouettes even if they're free.
Creating and exporting your own PNG with transparency

If you're drawing your own top-view bird in vector software like Adobe Illustrator or Inkscape, PNG is the right export format because it's the only common format that preserves a transparent background via the alpha channel. In Illustrator, the PNG export dialog includes anti-aliasing options: choosing a supersampling method gives cleaner edges, but be aware that it creates semi-transparent pixels at the boundary of your artwork. For crisp, hard edges (useful for game sprites or layered map assets), you may want to turn anti-aliasing off or choose the "Art Optimized" setting. In Inkscape, you set the background alpha to zero in document properties before exporting, which tells the PNG to treat the document background as transparent.
In GIMP, if you've painted or imported a bird image and want to export it with transparency, first confirm that the image has an alpha channel by checking the Channels dialog for the "Alpha" entry. If it's missing, add one via the Image menu before you do any background removal. Then export as PNG, not as JPEG, since JPEG does not support transparency and will fill your background with white or gray. A useful workflow is to do your rough sketch in a raster program, refine the linework in a vector program for clean edges, and export the final PNG from the vector tool.
One practical tip: export at a higher resolution than you think you need. A 2000px wide silhouette gives you room to scale down without losing edge quality, while a 300px version exported at low resolution will look jagged at any size larger than a thumbnail. If you're using the PNG as a repeating element (birds in a flock, for example), having a high-resolution source makes all the difference.
How species change the overhead silhouette
Not all birds look the same from above, and the differences are significant enough that species choice should be the first decision you make before drawing. Wing shape, body proportion, and flapping style all vary dramatically across bird groups, and those differences show up most clearly in the top view.
| Bird type | Wing shape from above | Body-to-wingspan ratio | Key top-view feature |
|---|---|---|---|
| Large soaring birds (eagles, vultures) | Broad, rounded, finger-tipped | Body narrow relative to span | Splayed primary "fingers" clearly visible; wings held nearly flat |
| Falcons | Long, pointed, swept back | Streamlined narrow body | Wingtips sharply pointed; noticeably narrower than body width at shoulder |
| Pigeons/doves | Medium, elliptical | Moderate body mass | Rounded wingtip; visible wrist bend during upstroke; fast flap rate |
| Swallows/swifts | Narrow, crescent-shaped | Very small body | Extreme aspect ratio; wingtips nearly meet behind tail in glide |
| Hummingbirds | Short, paddle-like | Large head relative to wing | Figure-eight wingtip trace visible in hover; hover pose shows near-horizontal wing plane |
| Herons/egrets | Broad, arched | Long neck folded back | S-curve of folded neck visible from above; slow, deep wingbeat |
The soaring birds are the most forgiving to draw because their wings are held mostly steady, which means you're capturing a static pose rather than a mid-flap moment. Eagles and vultures use thermal soaring, locking their wings in the extended position and banking gently, so from above you'd see fully spread wings with individual primary feathers at the tips fanned like fingers. The behavior of a bird flying on top of another bird, which happens in some territorial or mating displays, often involves exactly this kind of spread-wing soaring posture layered vertically, and from above the upper bird would appear to eclipse part of the lower bird's silhouette.
Falcons are the trickiest because their swept-back, pointed wings look very similar to the closed-wing dive shape, so the phase of flight matters even more. A soaring falcon from above has slightly broader wings than you'd expect; a diving falcon has dramatically swept-back, narrow wings that can look almost like a plus sign. Getting that right requires knowing which flight mode you're depicting.
Hummingbirds are in a category of their own. Their wingbeat is so fast and their wing anatomy so different (the hand makes up almost the entire wing, with almost no upper-arm segment) that from above in hover, you see a very short, wide paddle moving in a figure-eight pattern rather than the up-down flap of other birds. Research with overhead and behind-the-bird camera angles has been used specifically to map the wake topology and wing loop geometry in hummingbird hover. If you're drawing a hovering hummingbird from above, the wings are nearly horizontal and appear blurred in a forward-and-back arc, not raised and lowered.
If you're working on a project where a bird's escape or return trajectory matters, say a story, a game, or an educational diagram, the top-view perspective is especially useful for mapping path. Understanding how to respond when a bird flew away often involves tracking the direction and altitude from an observer's viewpoint, which is essentially this same overhead mental model applied to real behavior.
The practical bottom line: pick your species first, look up reference photos taken from above or behind (overhead wildlife photography and biomechanics research both provide these), decide your wingbeat phase, and then build your silhouette from the inside out, starting with the body spine and working outward to the wingtips. That order matches how real wing anatomy actually operates, and it'll give you a drawing that holds up to scrutiny from anyone who knows what a bird actually looks like in the air.
FAQ
My bird flying top view looks stiff or like a statue. What should I fix first?
Use a “phase check” first: pick whether your bird is in downstroke, upstroke, glide, or a bank. If you can’t describe it in one sentence, the wings are probably in a mismatched position. From above, downstroke shows the primaries slightly forward-swept and most extended, upstroke shows a visible elbow kink and a narrower span, and a glide keeps the wingtip line straight with minimal folding.
How do I keep the top-view wings from looking unnaturally symmetrical?
Avoid making both wings perfectly mirrored at the same instant. Even in straight flight there is typically a tiny difference in sweep angle or extension due to wingbeat oscillations and subtle roll correction. A practical method is to draw one wing at the correct phase, then offset the other by a small amount (for example, slightly more extended) before you finalize symmetry.
When should I show yaw (body axis not aligned with direction of travel) in a top view?
For clarity, keep the bill aligned to the flight path when the bird is level, then introduce yaw as a separate cue. If the body axis rotates relative to travel, tilt only the bill and tail slightly off-center, without also rotating the whole wingframe into a new shape. This separation (yaw first, wing phase second) reads more realistic than rotating everything together.
What’s the quickest way to make a banking top-view bird look believable?
If you’re drawing an overhead bird in a turn, you need differential behavior, not just a tilted body. A good rule is outside wing more extended and often “busier” in the silhouette, inside wing more folded and slightly shorter due to foreshortening. Also check the tail, during tight turns one side can fan more than the other.
How should the tail look from above for flapping flight versus soaring or gliding?
Tail geometry should match your flight mode. In active flapping, show a partially spread tail with the tip slightly depressed, which from above increases visible fan width. In glide, narrow the fan and reduce depression. If your bird is turning, allow asymmetry in tail spread to support the steering direction.
Should I include individual feathers (primaries and secondaries) in a top-view PNG?
Decide whether the image will be viewed at sprite size or print size. For small UI or game assets, export higher resolution then scale down, and reduce feather-level detail to avoid noisy edges. For larger illustrations, keep individual primary “finger” separations, but simplify secondary feathers into a clean trailing-edge row so the silhouette still reads instantly at a glance.
How can I tell if my transparent PNG export will cause halo artifacts?
If you’re using the PNG in a layered composition, confirm the alpha behavior at export time. Exporting with background alpha zero prevents “white fringe” issues later. Also test by placing the PNG over a dark and a bright background, if you see a halo then your anti-aliasing settings or edge cleanup likely need adjustment.
What should I choose first, species or wing position, when I’m drawing bird flying top view?
Species affects wing shape and flapping style more than almost any other factor, so choose it before you draw. To move faster, search for overhead references of the exact behavior you want (hover, cruise, thermal soar, dive). Then adapt the silhouette, don’t just recolor the same general wing shape, because the proportions and the wingbeat look differ strongly across bird groups.
Is motion blur from the wingtips enough, or am I still missing realism?
For most wing-flap drawings, you want motion cues to support a plausible wingbeat, not random blur. Use tip blur on the outer third of the wing only, and keep the wing base and body sharper. If blur appears on the whole wing or the blur direction contradicts the flapping direction, the brain reads it as a mismatch.
What are the most common problems in free or stock bird top-view PNG silhouettes?
Before you use a stock bird flying top view PNG, do a “sanity sweep”: check that wing phase matches the posture (downstroke versus upstroke versus glide), that the wing span to body proportions look plausible for the species, and that the wings are not anatomically impossible. If accuracy matters, reject silhouettes with perfect mid-flap symmetry and unnatural joint geometry.