The best paper toy that flies like a bird is a cambered-wing glider with a slight dihedral angle, a small horizontal tail, and its center of gravity placed about one-third of the way back from the leading edge. Build it from standard 80 gsm (20 lb) copy paper, give the wings a gentle upward curve, launch it at a shallow angle, and you will get the slow, soaring hang time that makes people think of a red-tailed hawk riding a thermal. If you want the flapping version instead, the classic origami flapping bird is your starting point, but it needs a few biomechanics-informed tweaks to actually stay aloft rather than just look dramatic.
Paper Toy That Can Fly Like a Bird: Build Guide

Marcus Chen
5 Jun 2026

What 'flying like a bird' actually means in physics terms
When people say they want a paper toy that flies like a bird, they are describing three specific things: lift that keeps the model airborne longer than a crumpled ball, smooth directional stability so it tracks in a predictable arc, and a slow enough sink rate that it looks like it is gliding rather than falling. Those three goals translate directly into lift, drag, and stability, which are the same variables a barn owl or a wandering albatross is managing every second it is in the air.
Lift is generated when a wing forces air to travel faster over its upper surface than its lower surface, creating a pressure difference. The amount of lift depends on wing area, airspeed, and the camber (curvature) of the wing. Camber is your single biggest lever when building with paper: a flat sheet of paper produces far less lift per unit of speed than the same sheet gently curved. Birds exploit this aggressively. Soaring species like vultures use deeply cambered, lower-aspect-ratio wings to generate high lift at low speeds, while albatrosses use extremely high-aspect-ratio wings (long and narrow) to maximize lift-to-drag efficiency over the open ocean.
Drag is the enemy of hang time. Induced drag, which is the cost you pay for generating lift, increases as you raise the angle of attack (the angle between the wing and the incoming airflow). Beyond a critical angle, flow separates from the upper surface entirely and lift collapses. That is called a stall, and it is the most common reason a paper bird nose-dives or tumbles. Your design goal is to keep the effective angle of attack below that critical threshold across the full flight path. Parasitic drag comes from every rough edge, protruding fold, and blunt trailing edge on your paper model, which is why cleaner folds and a tidy trailing edge matter more than they look like they should.
Stability is what separates a satisfying glide from chaos. Pitch stability (nose-up/nose-down) is controlled by the relationship between the center of gravity (CG) and the aerodynamic neutral point of the wing. If the CG is too far back, the model pitches up, stalls, and falls. Too far forward and it dives. Roll stability comes largely from dihedral, the slight upward V-angle of the wings. Yaw stability is handled by the tail or by wing sweep. Birds manage all three axes with feathers they can reshape in milliseconds. You will manage them with folds, bends, and small pieces of tape.
Pick your build: glider or flapper

Before you fold anything, decide which kind of bird-like flight you are aiming for. The two main options have genuinely different design logic, and mixing them up is the most common reason beginner builds fail.
The soaring glider (recommended starting point)
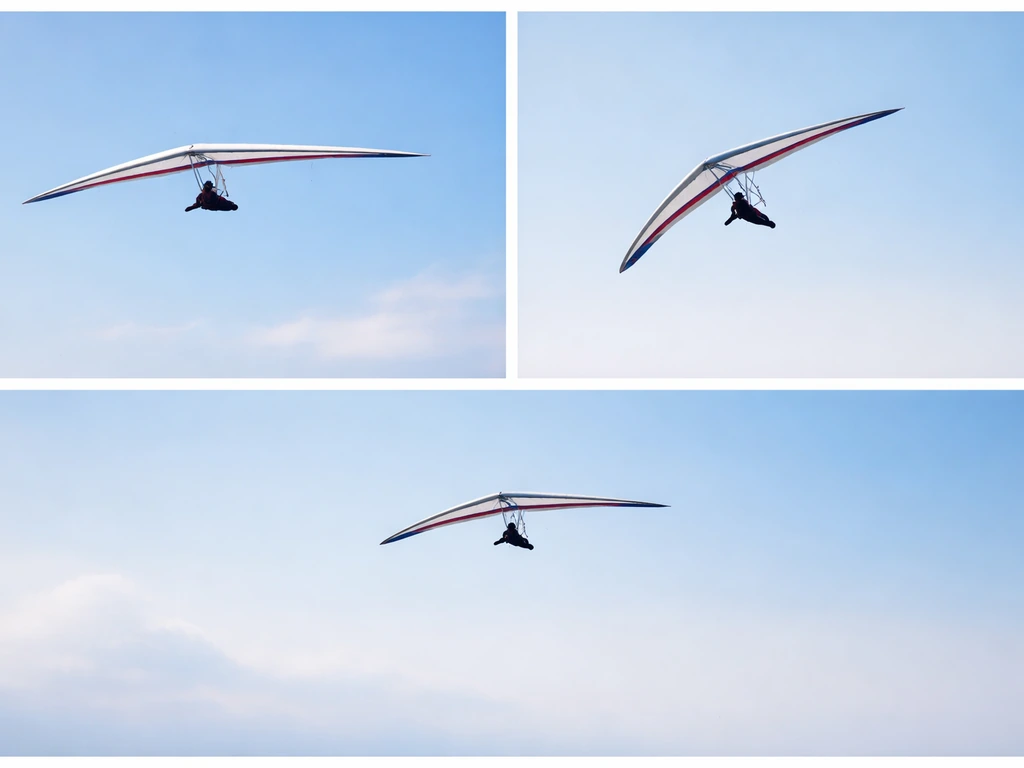
A glider mimics a red-tailed hawk or turkey vulture in a thermal: wings spread, losing altitude slowly while covering distance. It is the easier build, it teaches the most biomechanics, and it is the platform you will tune in this guide. The geometry you want is a relatively high aspect ratio wing (long span relative to chord depth), a gently cambered cross-section, a modest dihedral, and a horizontal tail surface. Think of this as your baseline. Once it flies well, every adjustment you make will directly parallel what a real bird does with its wing and tail feathers.
The flapping ornithopter (more advanced, less predictable)
A paper flapping bird, sometimes called an ornithopter or a flapping toy, uses a pull-string or lever mechanism to move the wings up and down. The classic origami flapping bird is a cultural icon but produces almost no useful lift from flapping because the wing motion is not tuned to generate the leading-edge vortices real birds exploit. Real flapping flight involves dynamically changing wing shape, span, and angle of attack throughout each stroke. A paper version can approximate this with a brad-and-lever mechanism and flexible wing panels, but managing it well is significantly harder. If this is your goal, use the soaring glider build to understand the aerodynamics first, then apply the same camber, dihedral, and CG logic to a flapping chassis.
| Feature | Soaring Glider | Flapping Ornithopter |
|---|---|---|
| Build time | 20–30 minutes | 45–90 minutes |
| Paper required | 1–2 sheets, 80 gsm | 2–3 sheets plus brad/clip hardware |
| Lift source | Passive camber and angle of attack | Wing stroke (complex, hard to tune) |
| Stability | Easier to achieve with tail + dihedral | Requires careful CG and wing symmetry |
| Bird analogy | Vulture, hawk, gull soaring | Pigeon, heron in flapping flight |
| Best for | Learning flight principles | Showpiece / advanced challenge |
For the rest of this guide the primary build is the soaring glider, with notes on where flapper logic diverges. The origami flapping bird is a great companion project once you understand what the glider is teaching you.
Paper choice and why it matters
Use standard 80 gsm (grams per square meter) copy paper, sold in the US as 20 lb bond. Paper in the 75–90 gsm range gives you the right balance: stiff enough to hold a cambered shape under aerodynamic load, light enough not to overwhelm the lift your wing can generate, and smooth enough to keep surface drag low. Heavier paper (110 gsm card stock) makes the model too heavy for passive gliding. Lighter paper (60 gsm newsprint) flexes and loses its shape mid-flight. A single US letter sheet (215 × 279 mm) or A4 sheet (210 × 297 mm) is the right starting size.
Building the wing for real lift
Start with one full sheet of 80 gsm paper oriented landscape (wide side horizontal). This is your wing blank. The steps below build camber, set the angle of incidence, and establish the wing loading that will determine how fast and how far this model glides.
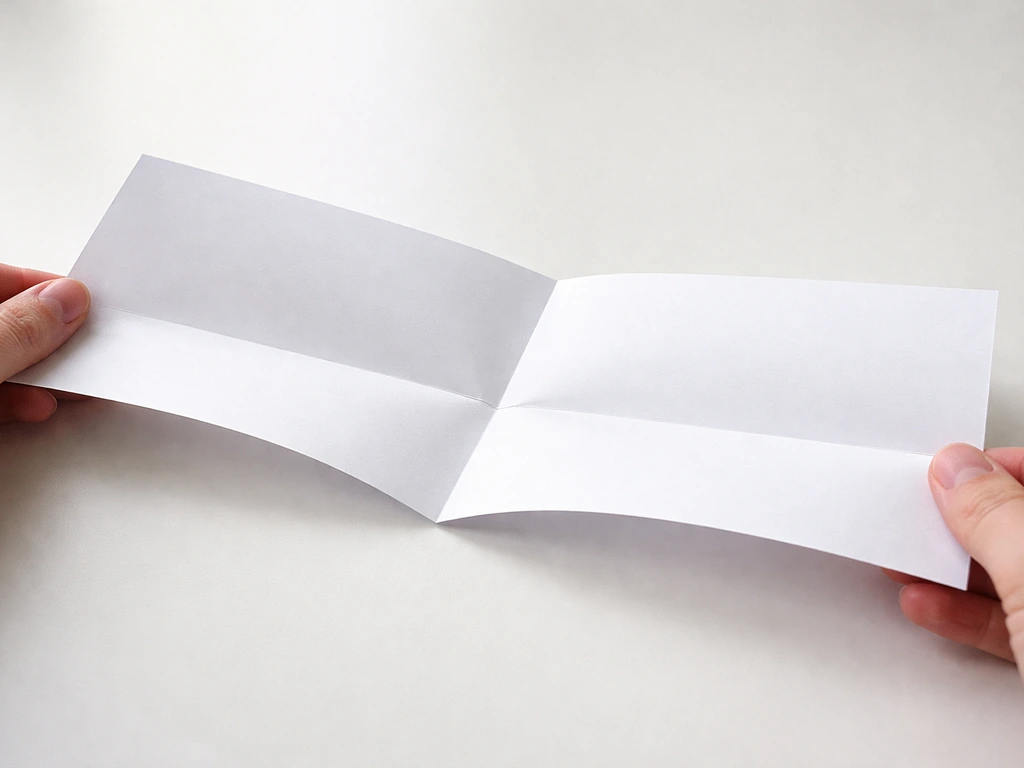
- Fold the sheet in half lengthwise (a hot-dog fold), then unfold it. This crease marks your fuselage centerline.
- Fold the top edge down to the centerline crease on both halves. This creates your leading-edge thickness and the beginning of camber. Press firmly but leave a very slight roundness at the leading edge rather than a razor crease. A blunt, slightly rounded leading edge reduces vortex drag and is closer to what a bird's wing actually looks like.
- Fold the leading-edge panels down again by about one centimeter, then fold the whole nose section back along the original centerline. You now have a reinforced fuselage tube running down the center with two wings extending out to the sides.
- Add camber: hold the model by the fuselage and gently curve each wing upward using your thumb and forefinger, dragging from root to tip along the underside. You want roughly 5–8 mm of rise at the midpoint of each wing chord. This curve is the single most important aerodynamic feature. Birds achieve this with hollow bones and tensioned feather shafts. You are achieving it by plastically deforming the paper fibers.
- Set the angle of incidence: the wings should sit at roughly 3–5 degrees above horizontal relative to the fuselage centerline. You can check this by sighting along the nose. If the wings are perfectly flat or angled downward, the model will need a much higher launch speed to generate lift and will be sensitive to stall.
- Wing loading check: hold the model loosely and let it balance on two fingers placed under each wing at about 40% of the wingspan from the centerline. The nose should sit slightly lower than the tail. If it tips aggressively nose-down, the leading-edge folds are too heavy and you need to trim a small sliver from the nose reinforcement.
Aspect ratio matters here. The width of your wing from root to tip divided by its average chord depth is the aspect ratio. A standard letter sheet folded as above gives you an aspect ratio of roughly 4:1, which is in the range of a buteo hawk (red-tailed, broad-winged). If you want more albatross-like efficiency, extend the wings by taping on additional strips to reach a span of 350–400 mm while keeping chord depth around 80–90 mm, pushing aspect ratio toward 4.5:1 or higher. Higher aspect ratio improves glide ratio but also makes the model more sensitive to lateral gusts, so keep the dihedral angle generous.
Add the tail and tune the balance
A horizontal tail surface does two things a real bird's tail also does: it trims the pitch attitude (adjusting effective angle of attack across the whole airframe) and it adds drag that slows the sink rate just enough to look graceful. Research on gliding barn owls shows that tail posture changes both drag and the operative angle of attack simultaneously, which is exactly the coupled effect you want from a paper tail.
- Cut a horizontal stabilizer from the remaining paper: a strip about 60 mm wide and 30 mm deep (front to back). Score and fold a 10 mm mounting tab along the front edge.
- Attach it to the rear underside of the fuselage with tape or a fold-lock, positioning it so the stabilizer surface sits roughly 5–8 mm below the wing chord plane. This downward offset (negative incidence) is your pitch trim: it creates a small downward force at the tail that prevents the nose from pitching up into a stall.
- Add a small vertical fin (about 40 mm tall, 25 mm deep) to the top rear of the fuselage. Fold a tab and tape it in place. This is your yaw stability, the equivalent of a bird's tail fan spread vertically.
- Dihedral: bend each wing upward at the root by about 5–10 degrees. Hold the model nose-on and sight down the fuselage. The wings should form a shallow V, not a flat line. This dihedral is your roll stability. When one wing dips, the lower wing generates more lift and self-corrects, exactly as it does in soaring gulls.
- Center of gravity: add a small piece of tape or a paperclip to the nose until the model balances on two fingertips placed at roughly 35% of the wing chord from the leading edge. This puts the CG ahead of the aerodynamic neutral point, giving you a positive static margin and reliable pitch stability.
The static margin concept is worth understanding because it directly explains why so many paper gliders either dive or stall. In longitudinal stability terminology, the static margin is the distance between the center of gravity and the neutral point, which is the stability lens for justifying forward or backward CG placement to achieve pitch stability and better stall resistance blank" rel="noopener noreferrer">static margin is the distance between CG and the neutral point. The aerodynamic center of a wing is typically around 25% of the chord from the leading edge. If your CG sits behind that point, pitch is unstable and any disturbance sends the nose skyward until the wing stalls. Move the CG forward and the nose naturally returns to the trimmed glide angle after a disturbance. Most successful paper glider designs place the CG between 30–40% of chord, and birds achieve the same effect by concentrating muscle and bone mass in the forward body.
How to launch and run your first tests
The launch is not just throwing the model. It is the first controlled experiment in your design process, and how you throw it tells you what needs adjusting.
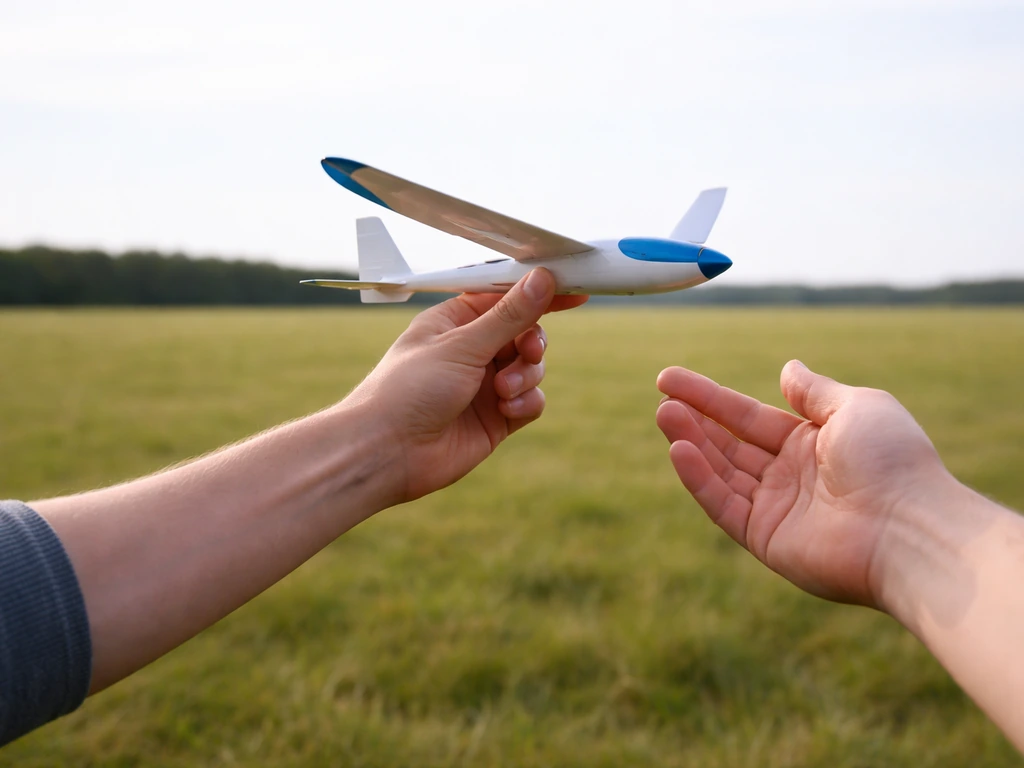
- First throw: hold the fuselage between thumb and forefinger just behind the CG. Launch horizontally at about the speed you would toss a tennis ball to a child, roughly 3–4 meters per second. Do not throw it upward. A bird-like glider should fly on a nearly flat trajectory and descend gently, not arc upward and then stall.
- Observe the first two meters carefully. Note whether the nose pitches up (needs more nose weight or tail incidence), pitches down into a dive (CG too far forward or not enough wing camber), rolls to one side (dihedral asymmetry or one wing heavier than the other), or yaws sideways (vertical fin too small or asymmetric).
- Repeat the same throw three times before adjusting anything. Paper is flexible and one throw can be misleading. If the same failure mode appears consistently across three throws, it is a design problem, not a launch error.
- Height test: once the model glides well on a flat throw, try launching from a chair height (about 0.5 m above your usual release point) at a very gentle downward angle of 5–10 degrees. A well-trimmed model will recover to its natural glide angle within half a meter and then settle into a smooth descending path. This is the equivalent of a hawk stepping off a branch.
- Wind test: if you have a mild breeze available (2–5 km/h), launch directly into it. Bird-like gliders should handle light headwinds gracefully because the additional airspeed increases lift. Crosswinds will reveal asymmetry in your dihedral or tail alignment very quickly.
When it does not fly like a bird: fix it systematically
Most paper glider problems fall into four categories. Matching the symptom to the category before touching anything is the fastest path to a fix. Make one change at a time, always gently, and always retest with three consistent throws before evaluating.
| Symptom | Root cause | Precise fix |
|---|---|---|
| Nose pitches up, then stalls and drops | CG too far back or tail incidence too neutral | Add a small paperclip to the nose, or bend the trailing edge of the horizontal stabilizer very slightly downward (increases downwash, trims nose down) |
| Nose dives immediately | CG too far forward or insufficient wing camber | Remove nose weight in small increments, or increase wing camber by curving more aggressively from root to tip |
| Rolls consistently to one side | Asymmetric dihedral or one wing heavier | Hold model up, sight nose-on, and gently bend the low wing upward by 2–3 mm; check that both wings are mirror images |
| Yaws left or right then spirals | Vertical fin too small or off-center, or asymmetric camber | Gently bend the vertical fin toward the direction of unwanted yaw to create a correcting sideforce; check that trailing edges are aligned |
| Glides only a meter then drops | Too little camber, wings too flat, or too much weight | Increase camber, reduce nose weight, and check that no folds are creating unnecessary drag bumps on the upper surface |
| Vibrates or flutters | Paper too thin or trailing edge not clean | Reinforce the wing with a second layer at the root, and trim or fold the trailing edge to a clean line rather than leaving a raw edge |
One point worth emphasizing: adjust gently. Paper is anisotropic, meaning it bends easily across the grain but resists along it, and a fold made too aggressively becomes a permanent kink that introduces extra drag at exactly the wrong place. The research is clear that transverse folds and surface kinks create significant aerodynamic penalties on paper wings, especially at the angles of attack a slow glider operates at. Research indicates that transverse folds and surface kinks can create significant aerodynamic penalties on paper wings, especially at the angles of attack a slow glider operates at transverse folds and surface kinks create significant aerodynamic penalties. Think of your adjustments as the fine muscle contractions a bird uses to reshape a single primary feather, not wholesale wing redesigns.
Iterating toward better flight: glide ratio, turns, and hang time
Once your model is flying cleanly and predictably, you are ready to optimize. Each of the following iterations corresponds directly to something birds have evolved over millions of years, which makes testing them genuinely interesting rather than just tinkering.
Improving glide ratio
Glide ratio is horizontal distance divided by altitude lost. A typical well-tuned paper glider achieves about 8:1 to 12:1. A soaring hawk can achieve 10:1 or better. To improve yours, reduce drag first: clean up the trailing edge by folding it to a thin taper rather than leaving a blunt edge, make sure the wing surfaces are smooth with no ridges, and remove any tape or folded flaps that stick out perpendicular to airflow. Then check that your camber is symmetric across both wings and that the angle of incidence is consistent root to tip. These changes mimic the way a gliding bird spreads and flattens its primary feathers to minimize profile drag.
Adding a gentle turn (like a soaring bird circling a thermal)
A slight rudder deflection combined with the natural dihedral will produce a coordinated banked turn, exactly the geometry a red-tailed hawk uses when circling in rising air. To add a right turn, gently bend the vertical fin about 3–5 degrees to the right. The fin creates a yawing moment to the right. The dihedral then converts that yaw into a roll, banking the right wing down, which redirects lift inward and produces a curved flight path. Too much rudder input causes the model to spiral rather than arc gracefully, so small adjustments matter enormously here.
Maximizing hang time
Hang time is a function of wing loading (weight divided by wing area) and lift coefficient. Reduce wing loading by making the model as light as possible while maintaining structural integrity. Increase lift coefficient by increasing camber slightly, but stay below the stall angle. The sweet spot is a model that glides slowly at a high angle of attack without stalling, which requires the CG to be tuned precisely to keep the trim angle just below the critical value. If you want to extend span to reduce induced drag (the albatross strategy), tape on narrow paper extensions at each wingtip and re-trim the CG. Each 20 mm of added span noticeably increases glide ratio and hang time, though the model becomes progressively more sensitive to yaw asymmetry.
Notes on the flapping version
If you have the soaring glider working well and want to explore the flapping build, the origami flapping bird is the natural starting point for the wing geometry and fold logic. The key upgrade that makes it actually fly rather than just flap is adding a rigid fuselage spine from a second sheet, setting the wing camber on each half independently with the same curving technique described above, and ensuring the flapping mechanism moves the wings through a stroke that generates a net downward force on the air. Real birds change their wingspan dynamically during each stroke cycle to enhance time-averaged lift, and you can approximate this by cutting the wing panels so they are slightly narrower at the tip, allowing the tip to deflect more on the downstroke. Even with all of this, a paper ornithopter will not sustain itself in free flight without a very precise weight-to-lift balance. Treat it as an exploration of flapping biomechanics rather than a performance glider.
The bird biology behind every fold
Every design decision in this guide has a direct biological parallel, and understanding those parallels makes you a better builder. The camber you added to the wing corresponds to the convex upper surface birds achieve with their contour feathers layered over hollow-bone wing structures. The dihedral angle mirrors the slight upward sweep of a soaring gull's wings in stable air. The horizontal tail at negative incidence mirrors the way a barn owl adjusts its tail posture during a glide to trim drag and maintain altitude. The CG placement ahead of the neutral point reflects how a bird's breast muscles, heart, and keel bone are concentrated forward in the body to keep the center of mass stable relative to the wing's aerodynamic center.
The leading-edge vortex that birds exploit during high-angle-of-attack flapping is one reason a flapping paper toy is so hard to replicate: it requires a time-varying angle of attack and wing rotation that a rigid paper surface simply cannot produce passively. But a well-tuned soaring glider does capture the essential physics of what makes a soaring bird look effortless: camber for lift, low induced drag from a reasonably high aspect ratio, and stability achieved through geometry rather than constant muscular correction. The paper version of that is genuinely satisfying to build and genuinely instructive to tune.
If you want to go further after this build, the related topics of how bird wing shapes vary across species and how specific birds achieve bird-like flight in paper form are natural next steps. If you are specifically aiming for a paper bird that can fly, you will also want to compare these species-specific wing ideas to what you can actually reproduce with paper. If you are curious about the bird can fly name behind the behavior, see how different species and wing shapes can change what “bird-like” flight looks like in paper. The science of why some birds are better gliders than others, and which wing geometries translate most directly into paper designs, opens up a wide range of experiments you can run with nothing more than a stack of copy paper and an understanding of the principles covered here.
FAQ
Why does my paper toy stop gliding after a few throws, even if I didn’t change the design?
Use the paper’s natural “bend” direction. If you can, fold and curve so the wing camber and any kinks form along the direction the sheet naturally resists bending across. In practice, test with two wings pieces taped together, bend one across the grain and one along it, then launch both. The one that holds its curve without cracking or flattening will give you longer hang time.
How should I launch it so the glide looks like a bird, not a nose-dive or a stall-drop?
For a slow, stable glide, launch with a forward angle that is closer to a gentle throw than a lob. If it immediately dives, reduce initial nose-down speed by tossing flatter (less downward component) or slightly move the CG forward. If it stalls high and then drops, increase nose-down tendency by moving the CG back a small amount (5 to 10 mm) or slightly reducing camber.
My model turns into a spiral. How can I tell if it’s a trim issue or an aerodynamics problem?
Treat wing symmetry as a first-class test. Measure the span and chord at both sides, then sight along the trailing edge to confirm both wings have the same curve. Even a small difference in camber or incidence creates a yaw moment that dihedral turns into a bank, causing a spiral. Fix by re-trimming only the offending wing, retesting with three consistent throws.
What modifications usually ruin flight even when the structure feels stronger?
Avoid sanding, heavy glue, or thick tape at the leading edge and trailing edge. Instead, use minimal, flat tape for bracing, and trim any exposed edges so airflow is smooth. If you add tape for strength, keep it parallel to the airflow, because perpendicular protrusions act like extra drag surfaces and reduce glide ratio.
Where exactly should I put weight if I cannot hit the glide behavior the first time?
For free-flight stability, start from the CG range the article suggests (around 30 to 40 percent of chord) and then fine-tune in tiny steps. Mark the leading edge, then shift the CG by small increments (about 5 to 10 mm) while keeping wing geometry unchanged. Retest three throws per adjustment, because paper flight varies with wind and throw force.
Is 80 gsm required, or can I use other paper successfully?
Switch to a different paper weight if the wing cannot hold camber under airflow. If it flexes and flattens during the first second, you likely used too light a sheet. If it becomes sluggish and drops quickly, it may be too heavy. The sweet spot is a paper that stays curved without permanent creasing, and the transition from 80 gsm to 75 or 90 gsm typically works without redesign.
My bird looks like it is flying fast but then abruptly stalls. What should I adjust first?
Don’t “chase” stall by adding more upward bends everywhere. A safer approach is to keep the overall incidence consistent, then reduce the most extreme camber or trim the CG forward slightly. If you increase camber, do it symmetrically and only a little, because too much angle of attack raises induced drag and triggers the stall behavior described in the guide.
How do I tune the right-turn behavior without causing spirals or dive turns?
When you test turns, change only one control at a time. Start with a very small vertical fin bend (3 to 5 degrees as the guide mentions), then test in still air. If the model tightens into a dive, reduce the fin deflection or return it toward neutral, because excessive yaw can force a coupled roll and increase the effective angle of attack until separation occurs.
When I add wingtip extensions, why does hang time sometimes improve but directional control gets worse?
If you try extending span for more lift-to-drag efficiency, keep chord depth and camber logic consistent, then re-trim CG. Also check for yaw asymmetry, because longer tips amplify side imbalance. A practical method is to add both left and right extensions with the same width and length, then confirm identical wing curvature before fine-tuning CG.
How can I tell whether my design is tuned or if I’m just throwing it inconsistently?
Your best indicator of readiness is repeatability. If three consecutive launches from the same starting position produce similar hang time and flight path, you are properly trimmed. If behavior changes between throws, the issue is often launch technique (release angle, force, or spin) rather than the wing shape, so standardize your launch method before doing structural changes.
Can I tune it in windy conditions, or should I wait for calm air?
Yes, but treat wind as part of the test condition. In gusty air, reduce dihedral slightly only if the model alternates between banking directions, and avoid extreme adjustments. For best results, test in calm conditions and keep throw angle consistent, because gusts can make a well-tuned CG look unstable by temporarily changing effective angle of attack.
My flapping paper bird flaps but never climbs. What’s the most common cause?
For the flapping version, even small differences in stroke weight distribution can prevent net lift in free flight. Add the rigid spine so both wings move through a similar downstroke force cycle, and use flexible tip deflection consistently on left and right. If it only flaps without gaining altitude, re-check that the mechanism produces a net downward force on the air (not just visible wing motion).
Next Article
Bird Has Flown Meaning: Definition and How to Respond
Understand the bird has flown meaning, when it’s used, and how to reply with examples for real-life conversations.