To film bird flight in slow motion with sharp, usable wing detail, you need at least 120 frames per second (fps), a shutter speed double your frame rate (so 1/240s at 120fps), and enough light to make that fast shutter work without a noisy, underexposed image. Get those three things right and you'll stop a wingbeat mid-stroke and actually see what's happening. Get any one of them wrong and you'll end up with a blurry, juddering mess that tells you almost nothing about how the bird is flying.
Bird Flight in Slow Motion: How to Film and Analyze
Marcus Chen
24 May 2026
What slow motion actually needs: FPS, shutter speed, and light
Slow motion is just high-speed capture played back at a lower speed. A hummingbird beats its wings roughly 50 to 80 times per second. If you film at 30fps, each frame collapses several wingbeats into one, and the wings vanish into a blur. At 120fps you start to isolate individual stroke phases. At 240fps you can see the wing supinate and pronate at the tip. At 1000fps or above you can watch every feather slot open and close. The FPS is the starting point for everything else.
Shutter speed controls motion blur within each frame. The 180-degree shutter rule gives a practical starting point for shutter speed, with shutter speed approximated as about 2× the frame rate (about 2×FPS) for typical cinematic motion blur.
The standard starting point used across cinematography is the 180-degree shutter rule: set your shutter speed to roughly twice your frame rate. At 60fps that means 1/120s; at 120fps it means 1/240s; at 240fps it means 1/480s.
This gives each frame a small, natural-looking smear that prevents a strobe effect when played back. For bird flight, though, you often want to go sharper than the 180-degree guideline, especially if you're trying to freeze fine feather detail. Many wildlife filmers working at 120fps will push to 1/500s or even 1/1000s and accept a slightly crisper, less cinematic look in exchange for genuinely frozen anatomy.
The problem is physics. A faster shutter speed means less light hitting the sensor per frame, and you're already shooting at a higher frame rate that shortens each exposure window further. Bright overcast days and direct sun are your friends. Indoors or in shade, you'll need fast lenses (f/2.8 or faster) or cameras with excellent high-ISO performance. ISO 800 to 3200 is workable on modern mirrorless bodies; above that, noise starts destroying the fine feather texture you're trying to capture.
Gear and settings for filming bird flight
You don't need a Phantom camera to get useful slow-motion bird footage. Many modern mirrorless cameras shoot 120fps at 1080p or even 4K, and some smartphones now hit 240fps in a high-speed mode. Here's a practical breakdown of what to look for and how to set it up.
| Frame Rate | Best For | Recommended Shutter Speed | Light Requirement |
|---|---|---|---|
| 60fps | Gliding, large soaring birds | 1/120s–1/250s | Moderate (overcast fine) |
| 120fps | Most songbirds, waterfowl, raptors | 1/250s–1/500s | Bright daylight preferred |
| 240fps | Hummingbirds, swifts, fast wingbeaters | 1/500s–1/1000s | Full sun or artificial rig |
| 1000fps+ | Individual feather and stroke analysis | 1/2000s+ | High-power artificial lighting |
For lenses, a 100–400mm or 150–600mm zoom gives you the reach to fill the frame with a bird in open sky without needing to get close enough to disturb it. A telephoto prime like a 500mm f/5.6 is sharper but less flexible for tracking. Whatever you use, image stabilization matters enormously when you're panning at fast shutter speeds and high magnification. In-body stabilization (IBIS) combined with optical stabilization in the lens is the current gold standard.
Set your picture profile to a flat or log gamma if your camera supports it. This preserves highlight and shadow detail in feathers, which can be tricky to expose correctly (a white egret against blue sky is a classic blown-highlight trap). You'll add contrast in post. Shoot in the highest bit depth your camera allows at the chosen frame rate, usually 10-bit, to give yourself the most flexibility in color grading without banding.
How to frame, track, and keep focus on a fast-moving bird
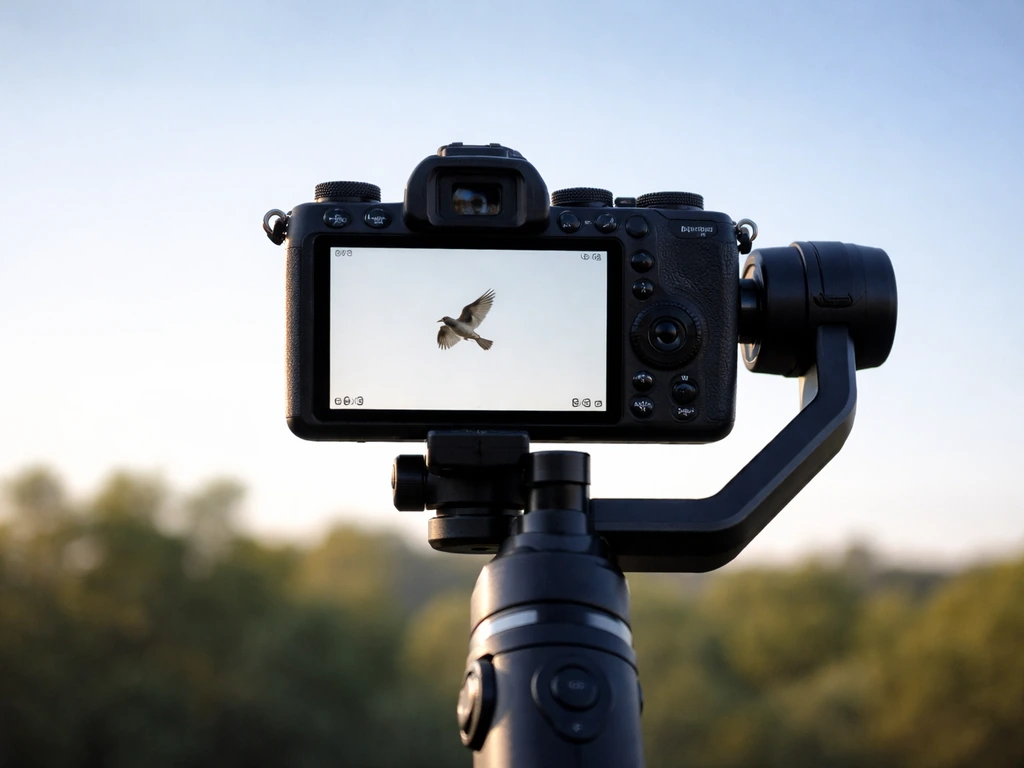
Tracking a bird in flight is genuinely hard, and slow motion makes it harder because any drift or shake during the shot becomes exaggerated when you stretch time. The best approach is to pre-plan your framing around a known flight path. Birds are creatures of habit: a heron follows the same canal route every morning, swallows return to the same barn opening, hawks circle the same thermal. Spend time observing before you film.
Modern AI-driven subject tracking in cameras like the Sony A1, Canon R3, and Nikon Z9 is genuinely transformative for this kind of work. Animal-eye AF can lock onto a bird in flight and hold focus through wingbeats, turns, and partial occlusion by vegetation. Enable this and set your AF sensitivity to a mid-to-fast response so the camera keeps up but doesn't constantly hunt. If your camera lacks animal tracking, use a wide AF zone and rely on continuous servo AF (AI Servo on Canon, AF-C on Sony/Nikon/Fuji).
Keep your framing loose at first and tighten in post rather than risking a cropped-out bird. At 120fps in 4K, you have enough resolution to crop significantly and still deliver a clean 1080p result. Lead the bird in the frame, giving it more space in front than behind. This looks natural and gives you a buffer when the bird changes direction. For takeoff and landing sequences (which deserve their own dedicated shoots), position yourself at the bird's eye level or slightly below for the most dramatic and biomechanically revealing angle.
Shooting strategies by bird behavior
Not all bird flight is the same, and slow motion reveals wildly different mechanics depending on what the bird is doing. Tailor your setup to the behavior you're trying to capture.
Hovering
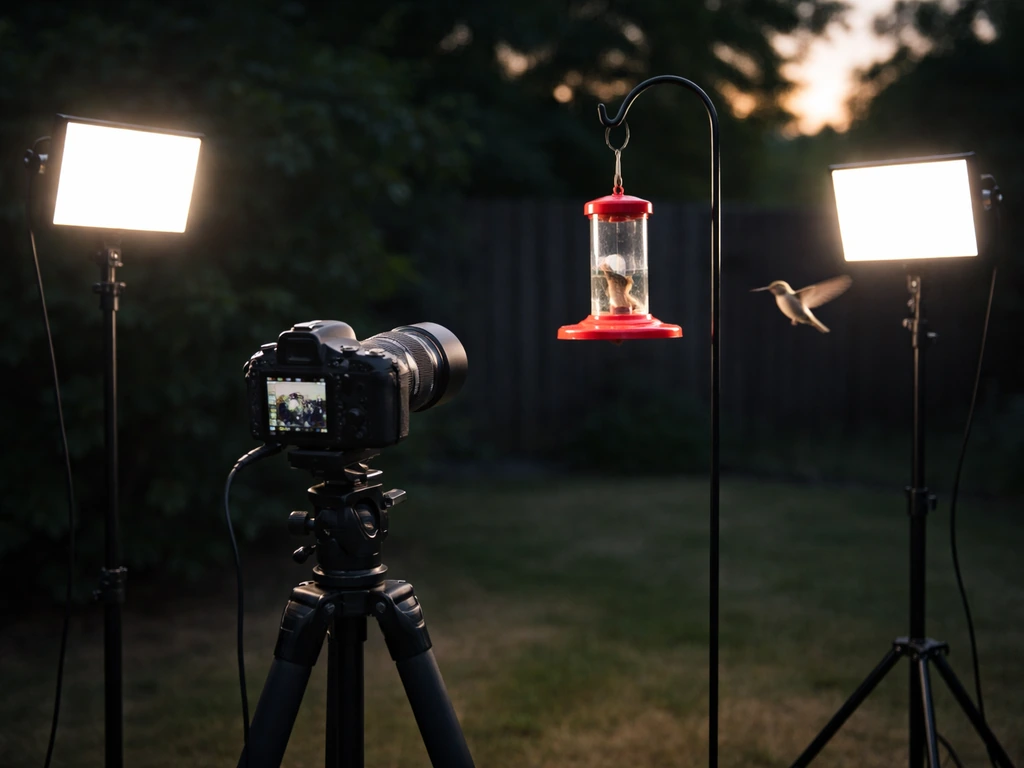
Hummingbirds are the obvious subject here, but kestrels and ospreys also hover while hunting. Hovering birds are actually easier to film because they stay in one spot. Set up a fixed frame at a known feeding station or hunting perch and wait. For hummingbirds, 240fps is the minimum useful frame rate; at 120fps the wings are still partially blurred. Backlighting from a bright sky can make iridescent feathers pop, but expose for the bird's body, not the sky. A fill flash or reflector can lift shadow detail significantly.
Flapping flight
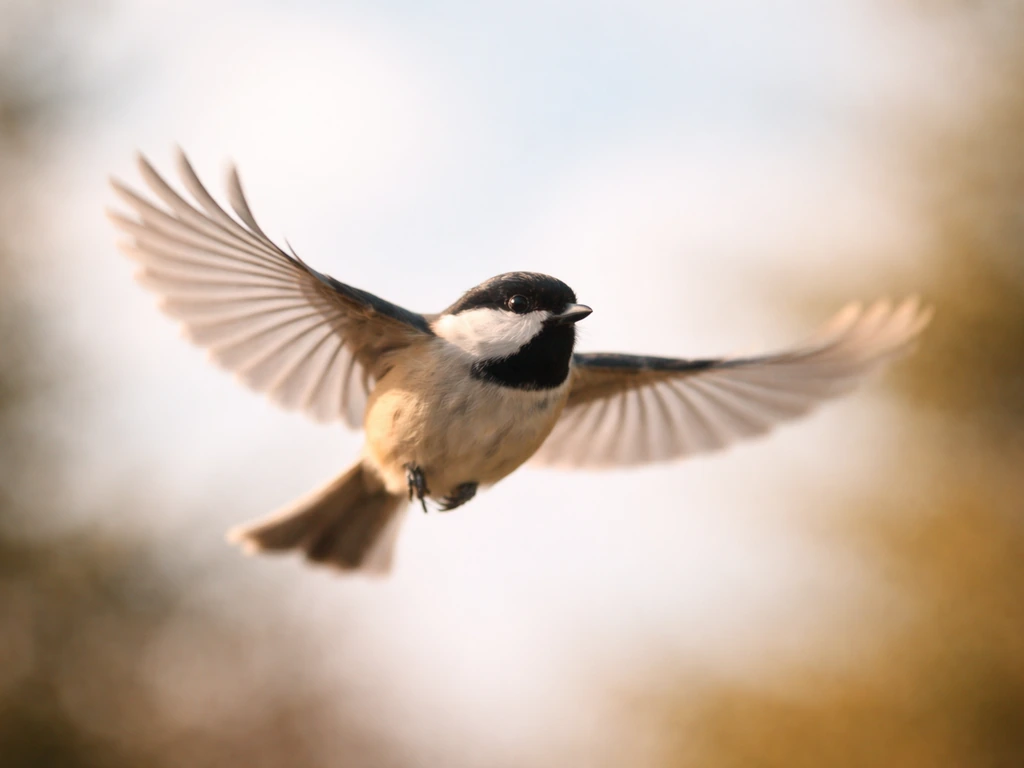
This is the most common and most revealing type to capture. The wingbeat cycle has a power stroke (downstroke) and a recovery stroke (upstroke), and slow motion separates them clearly in ways normal-speed video never can. A good example is bird flapping wings slow motion, where you can clearly separate the power stroke from the recovery stroke. Position yourself where the bird crosses a predictable gap, like between two trees or over a water surface. Pan smoothly with the bird and resist the temptation to zoom; zooming mid-pan at high frame rates looks terrible. At 120fps you'll get roughly 4 to 6 frames per wingbeat for a pigeon-sized bird, which is enough to reconstruct the full stroke cycle.
Gliding and soaring
Raptors like red-tailed hawks, vultures, and eagles spend long periods in thermally-assisted soaring with minimal wingbeats. Here you don't need ultra-high frame rates; 60fps played back at 24fps gives a satisfying, dreamy slow motion while maintaining enough resolution and light. The interest in these shots is wing morphology: how the bird adjusts the spread of its primary feathers, twists its wingtip, and rolls its body to steer. These subtle adjustments happen over half a second or more and are easy to miss at normal speed.
Takeoff and landing
These are two of the most biomechanically complex moments in a bird's flight. A slow-motion “bird taking off” clip is one of the best ways to see the exact sequence of leg push, first downstroke, and wing posture changes. Takeoff involves a rapid leg-launch combined with the first powerful downstroke; landing requires precise deceleration and the deployment of the alula (the small feathered thumb that acts like a leading-edge slat on an aircraft wing).
At 120fps or above, you can see the alula deploy in real time, which is one of the more striking things slow motion can show. Position yourself low and to the side of a known perch or nest approach for the best angle on landing sequences. If you're aiming for a slow motion bird landing, choose your angle carefully so the deceleration and alula deployment read clearly in each frame.
Capturing sharp wing detail: avoiding blur and exposure mistakes
Wing blur in slow-motion footage is almost always one of two problems: shutter speed that's too slow, or motion in the plane of the sensor (the bird moving across the frame too fast relative to your zoom level). The shutter fix is straightforward: double your frame rate as a starting point, then push faster if you're still seeing smear on the wingtips. The tracking fix is about technique: practice smooth, even pans and resist sudden corrections.
Exposure mistakes fall into two common traps. The first is blowing out white or light-colored feathers against a bright sky. Dial in exposure compensation of minus one to minus two stops if your camera is metering on the sky, then recover shadows in post using your log footage. The second trap is underexposing at high frame rates because you've raised your shutter speed so far that the sensor is starved of light. If you're hitting ISO 6400 or above and seeing noise eating your feather detail, you need either more light, a faster lens, or a lower frame rate.
Neutral density filters are useful outdoors when you're trying to maintain a specific shutter speed without overexposing. A variable ND rated at 3 to 6 stops gives you flexibility as clouds move in and out. On bright days at 120fps, you'll often need 2 to 3 stops of ND to keep a correct exposure at f/4 without spiking your shutter speed unintentionally.
Working with footage you already have: playback, editing, and extracting motion
If you've already filmed slow-motion bird footage and something looks off during playback, the most common culprit is a frame-rate mismatch. High-speed footage shot at 120fps needs to be interpreted correctly by your editing software or it will play back at normal speed, not in slow motion. In DaVinci Resolve, right-click the clip in the media pool and select "Change Clip Attributes" to set the source frame rate to 120fps (or whatever you shot at) and the playback frame rate to 24 or 30fps. In Premiere Pro, right-click and choose "Modify > Interpret Footage" and set it to your shooting frame rate. This tells the software to stretch those extra frames across time, creating actual slow motion.
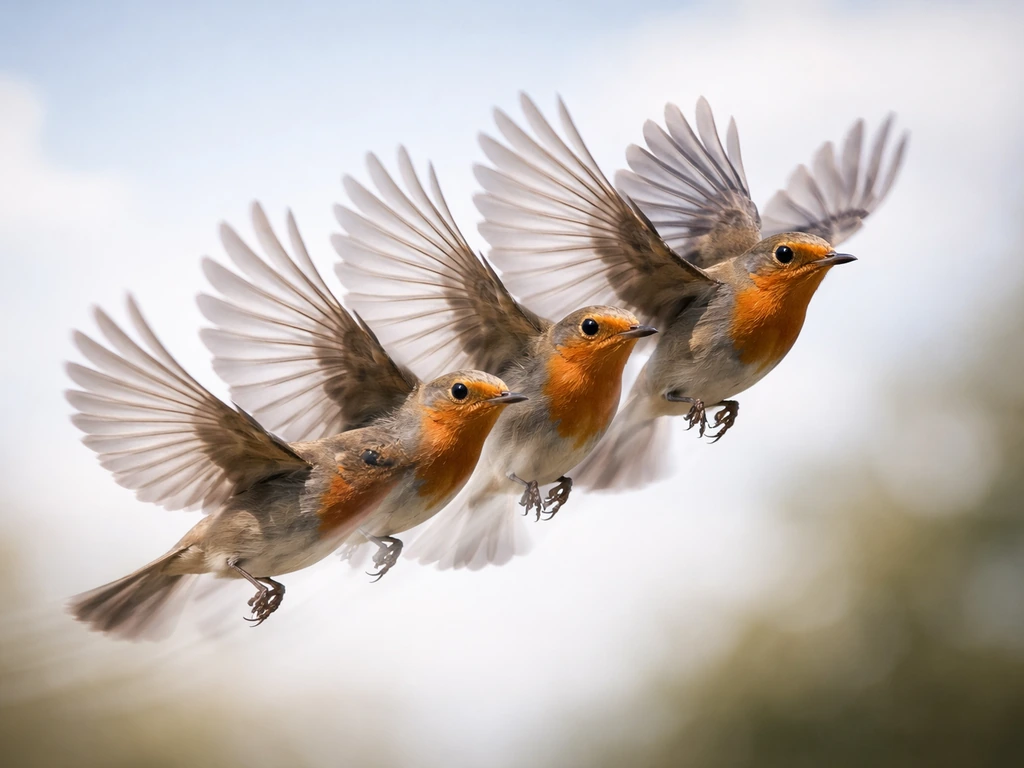
For biomechanical analysis, step through your footage frame by frame. Most video editing software lets you do this with the left and right arrow keys. Count the frames between the start of one downstroke and the start of the next, then divide that number by your playback frame rate to get the actual wingbeat duration, and flip it to find wingbeat frequency in beats per second. A European starling beats its wings roughly 5 to 8 times per second; a hummingbird closer to 50 to 80. If your numbers don't match expected ranges for the species, you've found a useful anomaly worth investigating.
Tracker tools inside DaVinci Resolve and even free software like Tracker (used in physics education) let you place a point on a wingtip or body and track it across frames automatically, generating displacement and velocity data. This is exactly what academic researchers use to measure wingbeat kinematics, and you can do a version of it at home with publicly available slow-motion footage or your own clips. The output graphs show you the sinusoidal pattern of a wingbeat stroke with remarkable clarity.
What slow motion actually reveals about how birds fly
This is where slow motion stops being just a filmmaking technique and becomes a genuine scientific tool. At normal playback speed, a bird's wingbeat looks like a single continuous blur. If you want a clear example of that, search for a video of bird stuck in mid air and watch how the wing motion changes frame by frame. Slow it down and you see a choreography of anatomical events that's been shaped by roughly 150 million years of evolution.
The downstroke is the power phase. The pectoralis major, which can account for 15 to 25 percent of a bird's total body mass in strong fliers, contracts to drive the wing down and forward. You can see the wing's leading edge drop first while the trailing edge feathers flex upward, generating both lift and thrust simultaneously. This is fundamentally different from how a fixed wing like an airplane generates lift, and slow motion makes that difference visible.
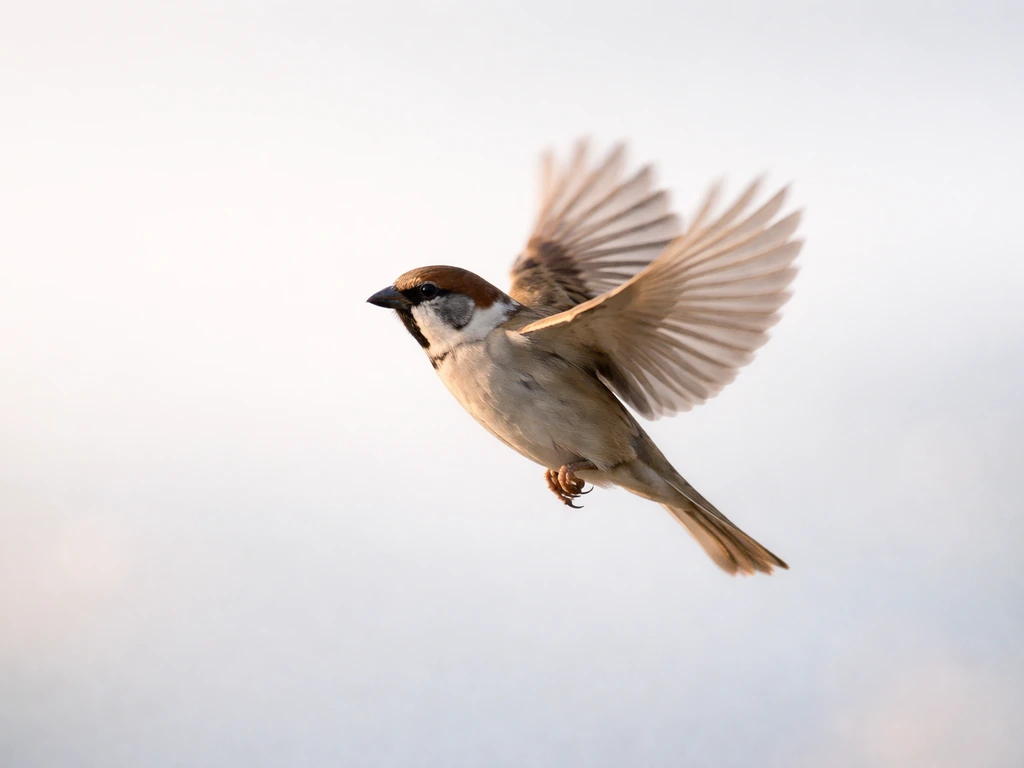
On the upstroke, the mechanics depend on the species. Small passerines like sparrows and finches partially fold their wings on the upstroke, reducing drag during the recovery. You can watch this fold happen frame by frame. Larger birds like herons and raptors keep their wings more extended through the upstroke, using it to generate some lift even during recovery. The distinction shows up clearly at 120fps and is invisible at 30fps.
Primary feathers are particularly fascinating under slow motion. During the downstroke, they press together to form a solid airfoil surface. On the upstroke, they separate and rotate, allowing air to pass between them and reducing resistance. This passive, feather-level response to aerodynamic forces is controlled partly by the feather structure itself, not just muscle action, and it's one of the more elegant engineering solutions in nature. Slow-motion footage at 240fps or above lets you see individual primaries opening and closing like venetian blinds.
Slow motion also reveals how different flight modes connect to wing shape. Compare a bird in sustained flapping flight to the same species gliding between flaps: the wing morphs from a high-camber, forward-swept shape during the power stroke to a flatter, more elliptical form during the glide. The wrist joint (the carpometacarpal joint) controls much of this shape-shifting in real time. You can see it flex and extend across a single wingbeat cycle. This is the kind of detail that biomechanics researchers spend years measuring in wind tunnels, and you can observe a version of it with a decent camera and good lighting.
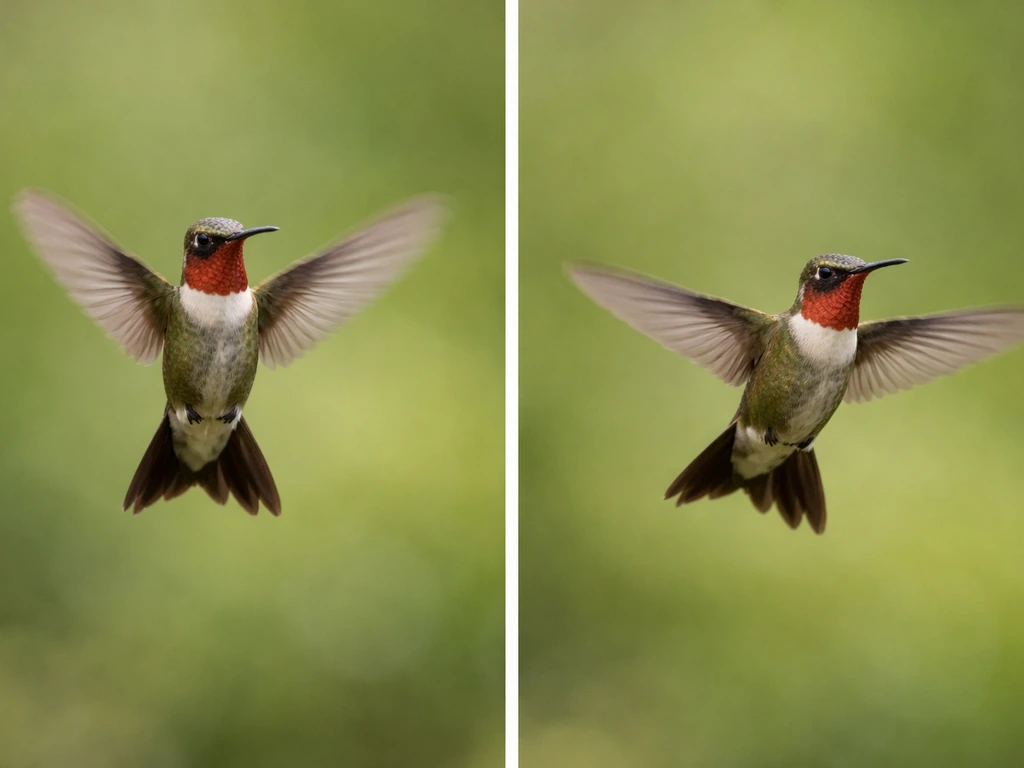
Species comparisons are especially rewarding. A hummingbird filmed in slow motion shows a figure-eight wing path with the wing generating lift on both the downstroke and the upstroke, an adaptation for sustained hovering. If you want that signature slow mo bird flying look, prioritize high FPS and a shutter speed that preserves detail slow motion. A swift, with its long, swept-back wings, shows rapid, shallow strokes optimized for speed. A pelican gliding over water demonstrates dynamic soaring, adjusting wing dihedral in subtle ways that a slow-motion clip makes obvious. Each species is essentially a different engineering solution to the same problem, and slow motion is one of the clearest ways to see those solutions side by side.
If you're building up a collection of clips, it's worth organizing them by behavior rather than by species. Hovering footage, flapping sequences, landing approaches, and takeoff bursts each reveal different anatomical systems at work. Cross-referencing those clips with what you know about wing musculature, feather structure, and skeletal anatomy turns a folder of video files into a genuinely useful reference library for understanding avian flight mechanics from the ground up.
FAQ
How do I avoid a wrong “wingbeat frequency” calculation if my camera reports 120fps but the file isn’t exactly 120.00?
For wingbeat analysis, use the actual capture frame rate from your camera settings (for example, 119.88fps vs 120fps) and make sure your software interprets that same source rate. If you recorded in a “high speed” mode that outputs a different file frame rate than you think, the math for wingbeat duration will be wrong even if the playback looks correct.
Can I use autofocus for bird flight in slow motion, or should I switch to manual focus?
Yes, but only if your goal is “see the phase order,” not perfect geometry. Autofocus can hunt during wing reversals and occlusions, which becomes harder to judge in slow motion. If you need measurements, prefer continuous AF with animal-eye tracking, and back it up with a wider AF area plus an AF response set that does not immediately jump focus when the background contrasts change.
What causes a strobing or jumpy look in slow-motion bird footage, even when I filmed at high fps?
If you see strobing or “stepped” wing motion, it is usually a shutter or playback cadence issue. First, verify the shutter speed is near your frame rate times two, then confirm you are not using a non-real-time shutter mode or an editor setting that changes clip interpretation. Also check for variable frame rate recordings, which can produce uneven motion between frames.
How do I fine-tune shutter speed for sharp feather detail without ruining exposure?
Use the “smear test” instead of guessing. Start with shutter around 2x frame rate, then review the wingtips at full resolution: if the tip is smeared into a thick streak, push shutter faster (for example from 1/500s to 1/1000s). If the footage becomes too noisy or too dark, back off the shutter and improve light (closer distance, brighter overcast window, or a lower ISO with a wider lens).
If I use a variable ND outdoors, how do I prevent exposure flicker that ruins slow-motion wing detail?
Variable ND helps, but only if it stays optically stable. At high magnification, small exposure fluctuations become visible as flicker in the wings because each frame is short. Use a fixed ND when possible, or monitor exposure while clouds pass and consider locking exposure parameters so the camera does not change shutter or ISO mid-sequence.
Is it better to shoot wide and crop later, or compose tightly in-camera for bird flight slow motion?
Cropping can be fine, but do it intentionally. At 120fps, you may have enough 4K resolution to crop for 1080p delivery, yet if you crop too aggressively you increase effective magnification and make micro-jitters more obvious. Stabilize your pan, keep a little margin around the bird, then crop only after you confirm focus and tracking hold across the wingbeat sequence.
When I set “Interpret Footage” in my editor, does it affect frame counting for biomechanical analysis, or just playback speed?
For most editors, right-click interpretation changes the playback speed, not the underlying time stamps used for frame-by-frame stepping. If you plan to count frames for biomechanics, verify both the timeline playback rate and the clip source frame rate match the capture settings. Otherwise, your “frames between downstroke starts” count will be inconsistent.
Is 120fps ever enough for hummingbird wing detail, or should I always target 240fps or higher?
If you are shooting hummingbirds or other very fast fliers, 120fps often still leaves partial blur in the recovery phase. A practical rule is to test by recording a short clip at your planned settings, then zoom in to check whether the outer primaries show distinct motion phases. If the wing pattern is still smeared, increase to the highest fps your exposure can support with usable noise levels.
Could rolling shutter make my bird wing motion look distorted in slow motion, and how can I tell?
When using high-speed modes, some cameras introduce a “rolling shutter” look, especially during fast pans. That can bend the wing plane and distort apparent motion. If you see vertical wobble or warped shapes, try faster sensor readout modes (if available), reduce pan speed, or test alternative resolutions where the camera uses different readout behavior.
What should I change if the camera’s bird tracking loses focus when the wings occlude the subject?
If your subject tracking keeps losing the bird during turns, switch to a more stable target strategy: pre-aim the frame at the known path, keep the background simple, and set a mid-to-fast AF response so it does not overreact to foliage occlusion. If tracking still fails, use continuous AF with a larger zone and accept that you will need tighter bursts to capture usable wingbeat cycles.